

Go on a behind-the-scenes tour with Suzie Baker, who shares her advice on how to build an art studio, including a warning and plenty of inspiration.
By Suzie Baker
(Featured in “Color Magic for Stronger Paintings” with PaintTube.tv)

I began planning my studio six years ago, only to set it aside once I got the first quote. With two kids in or headed to university, it wasn’t the right time to embark on such a financial commitment. And then, 2020 hit.
By 2020, both kids’ graduations were on the horizon, and I found myself with a freshly emptied calendar due to Covid. So I gathered ideas (thank you, Pinterest), contacted a contractor and an architectural designer, and returned to the drawing board.
A year and a half later, I was moving into my new studio. Along the way, I learned a few things. Read on if you want to update or build an art studio. Perhaps the solutions I came up with will help you sand down some rough edges in your construction plans.

Let’s start with four tidbits of advice to get you off on the right foot.
1. Get Advice
“None of Us is as Good as All of Us.” ~ Ray Kroc
After getting my ideas together and the initial drawings established, I went to Facebook. I asked for the collective wisdom of artists who have gone before me in the studio building process, asking: “Please share your brilliant studio ideas, best choices, can’t live without, and should-a-duns! Photos and article links are appreciated. Lay it on me y’all!!” Here are some highlights from that online dialogue:
“Good lighting. Make it a special place where you will love spending time. Spare no expense. A sink is helpful. Comfortable chair and bookcases. Picture hanging system and gallery lighting.” ~ Andre Lucero
“I’ve felt a lot better since getting an exhaust fan to expel the bad air. An air purifier was not enough.” ~ Anette Power
(Followed by) “Yes….very important, especially when working with oils & mediums…. we often don’t feel lung damage until it’s too late.” ~ GV-Artist Voorhies
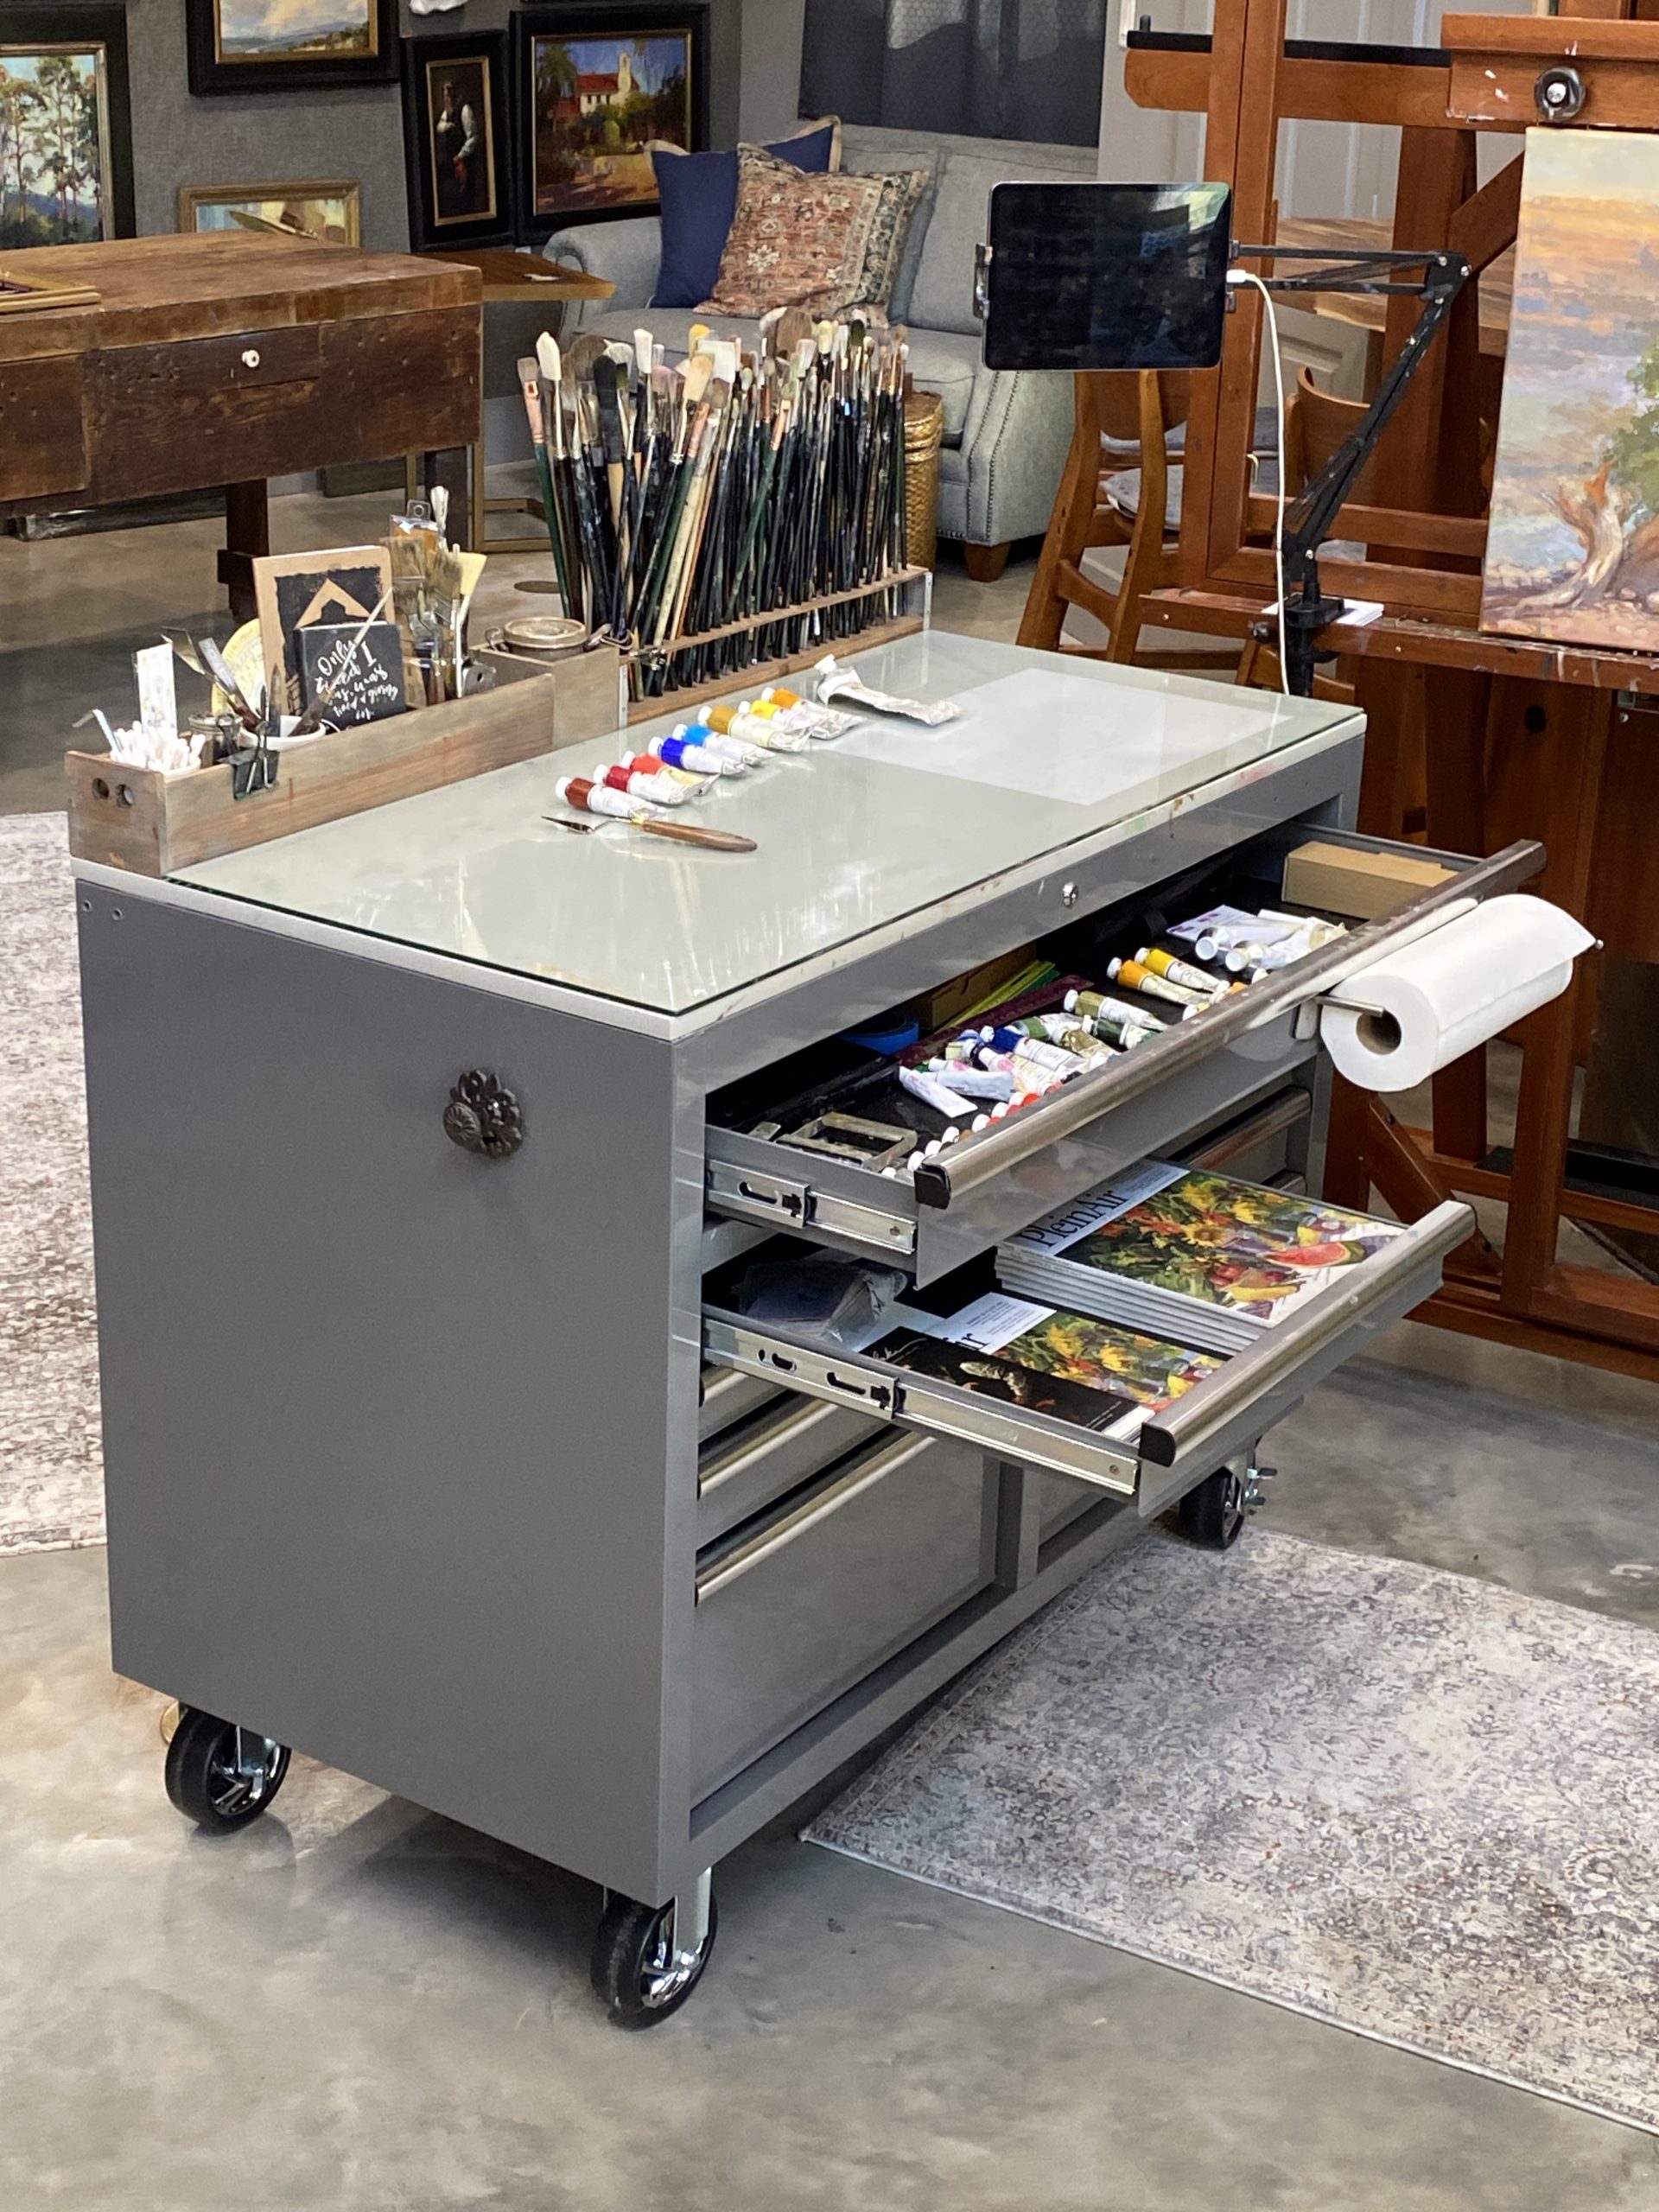
Lori Putnam said, “North Light, Wine Racks, Floor Plugs,” and many more ideas. Lori included a link to her rolling workbench, which she converted to a taboret. I must admit, I was going to steal that workbench idea from her before she suggested it.
The most common comments were concerning storage.
I encourage you to go to my “Suzie Greer Baker” Facebook feed and search for that July 2020 post. There are plenty of idea starters there.
2. Establish a firm foundation
“Well begun is half done.” ~ Aristotle
The planning stage took nearly as long as the construction stage. Much of the added time was due to navigating the time delays of city governance, meeting requirements, and accommodating restrictions. Fortunately, this protracted delay resulted in thinking through and revising details, avoiding hasty missteps.
3. Seek a fresh, knowledgeable perspective while still in the planning stage.
“Sometimes a change of perspective is all it takes to see the light.” ~ Dan Brown
I was on round two of my building design when I showed the plans to my friend and fellow artist John Michael Carter, OPAM. Right away, he noted a significant issue. Michael reminded me that this space was, first and foremost, a studio and recommended revising the location of the loft to open up the north wall for more light. I had been looking at the plans too long and trying to make the studio accommodate too many purposes. Michael’s fresh eyes and years of experience saved me from making a big mistake. Whew!
4. Warning to the eternal optimist, it WILL take longer and cost more than you planned.
“Keep Calm and Carry On” ~ British Government 1939
There will be setbacks, inclement weather, building mistakes, scheduling conflicts, and backlogged materials. Take a deep breath and remind yourself to be patient. You want the space to be correct. You will forget the extra time and added expense when it is said and done.
#StudioGoals
My old studio took up my house’s whole formal living and dining room. As a result, I found myself constantly organizing and reorganizing my space to get my work done. As my career grew, so did the need for storing frames, panels, shipping boxes, packing material, booth panels, easels, paint and brushes, and so much more. All this, combined with a desire for good lighting and an open workspace, made the need for a dedicated studio imperative.
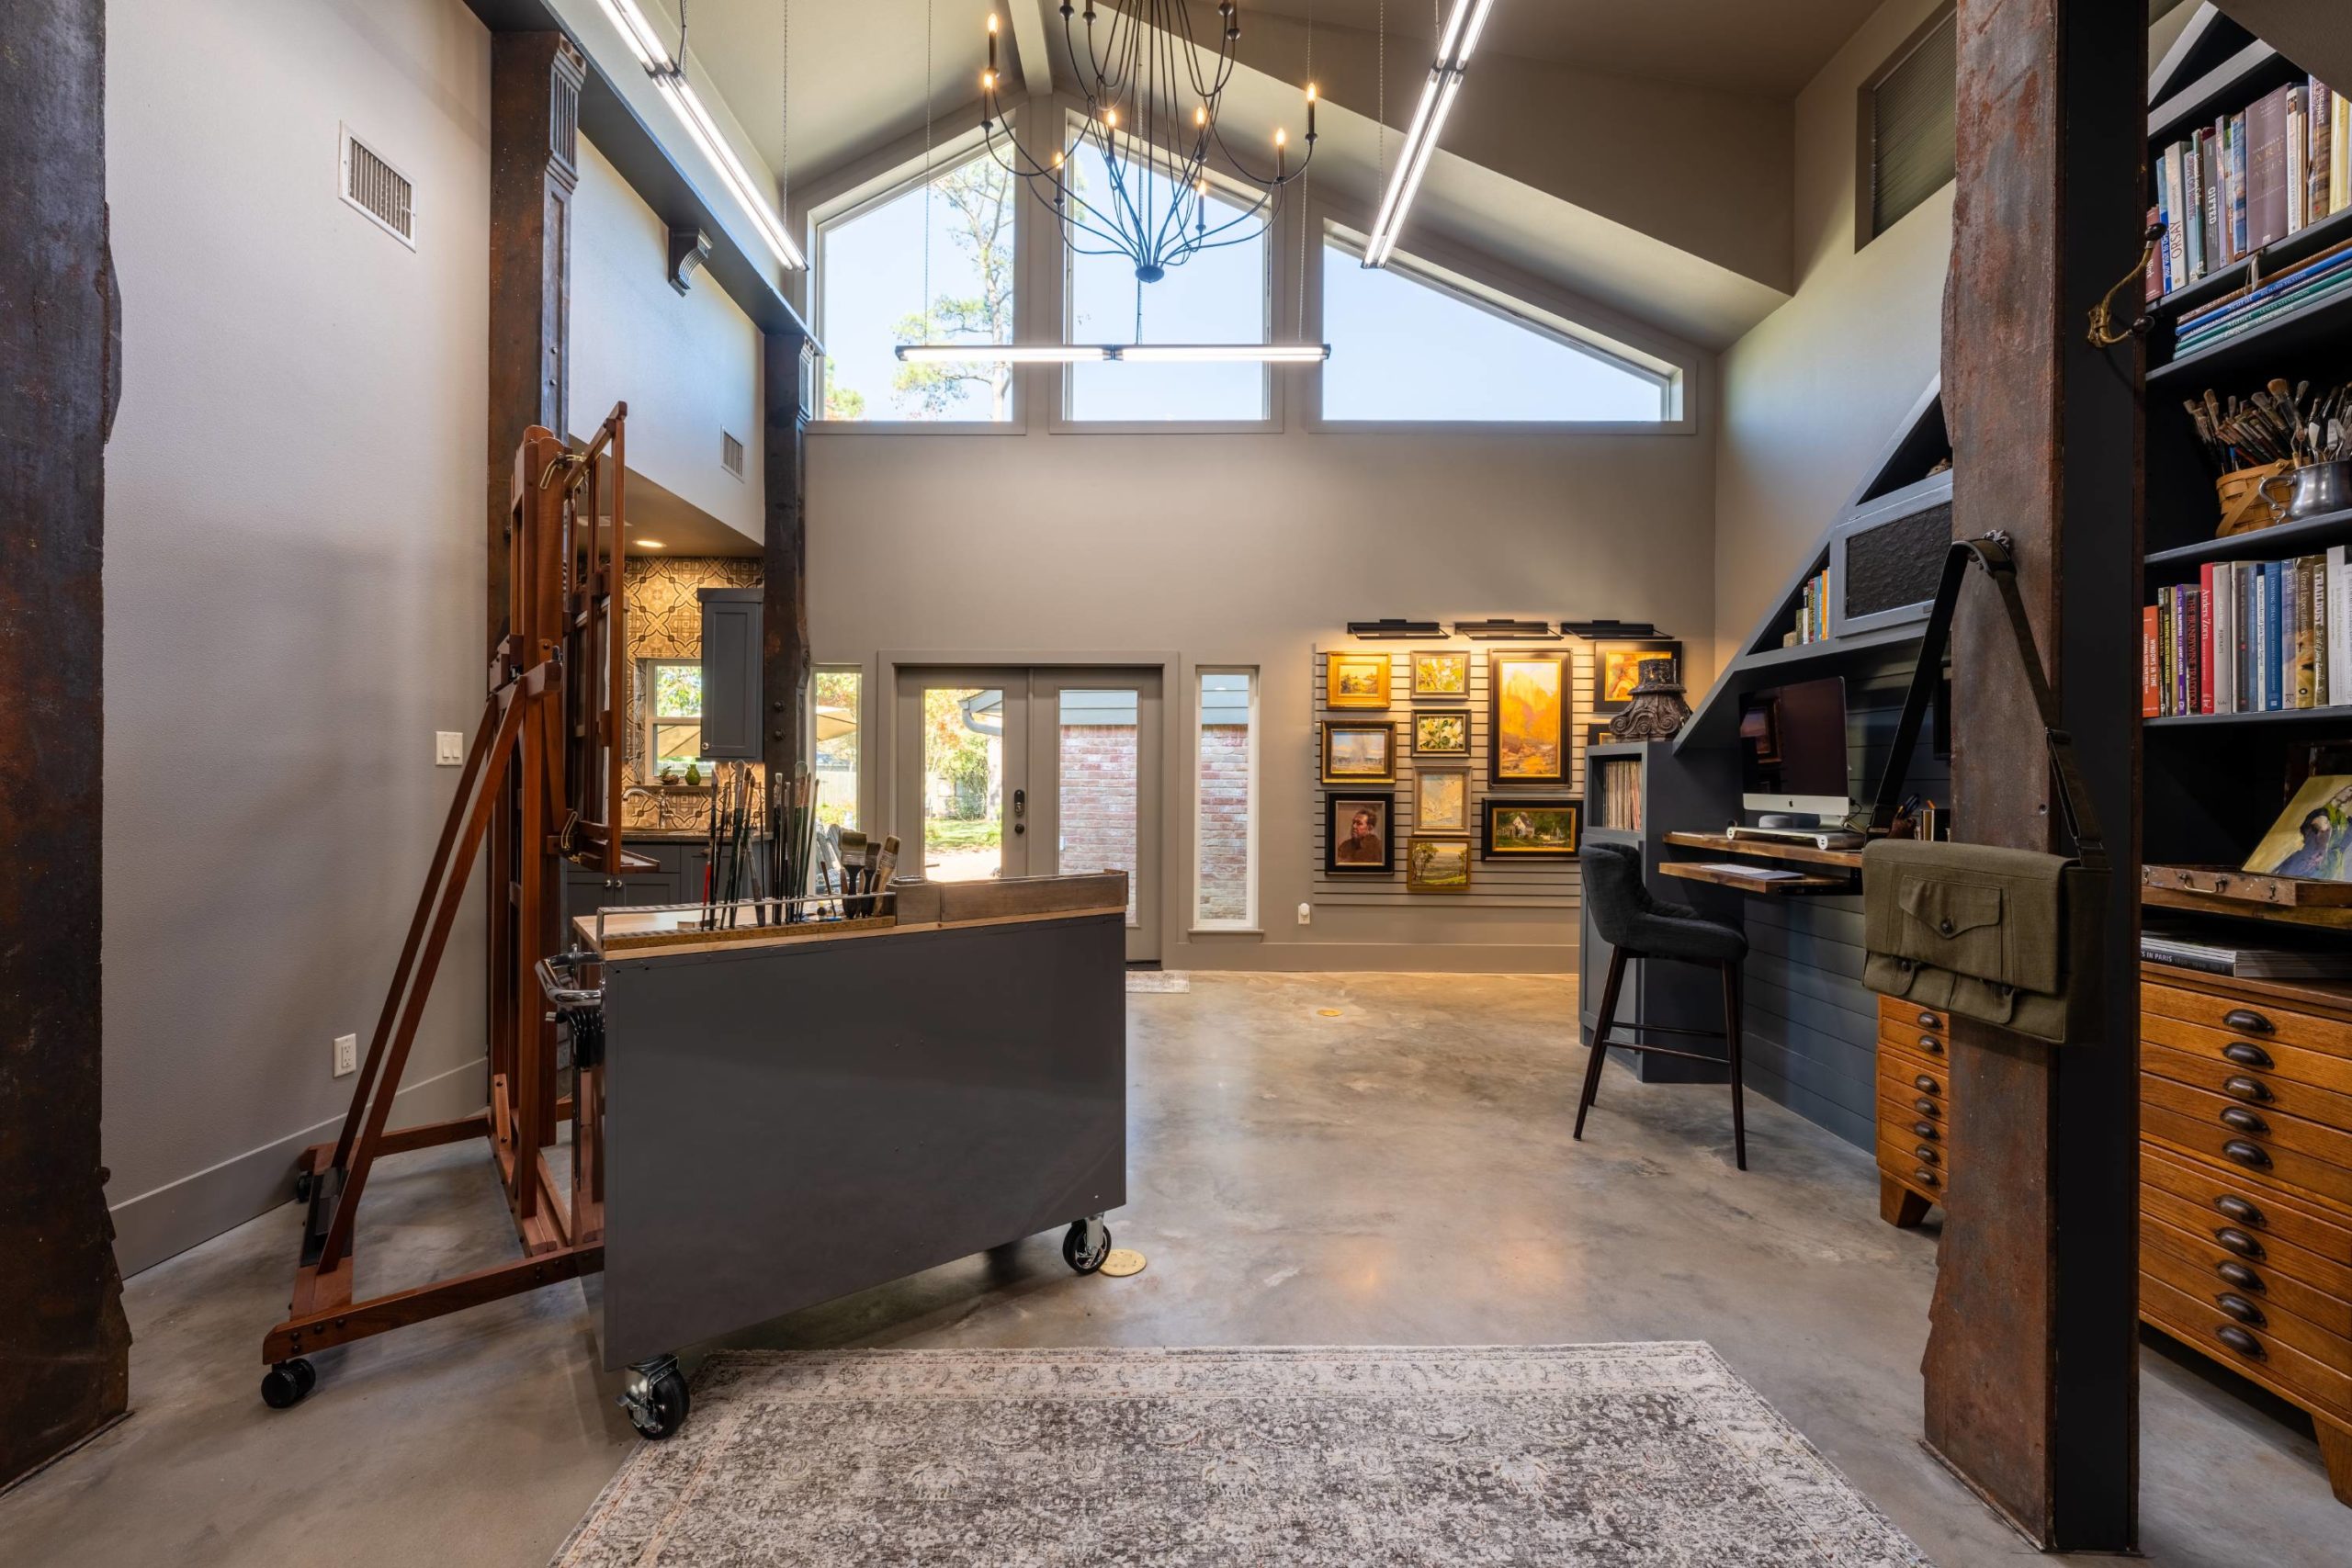
With this in mind, my studio design goals included ample storage, an open modular workspace with multiple work areas, thoughtful lighting, and a living space for visitors, including a bathroom and kitchenette. Here’s how it turned out.
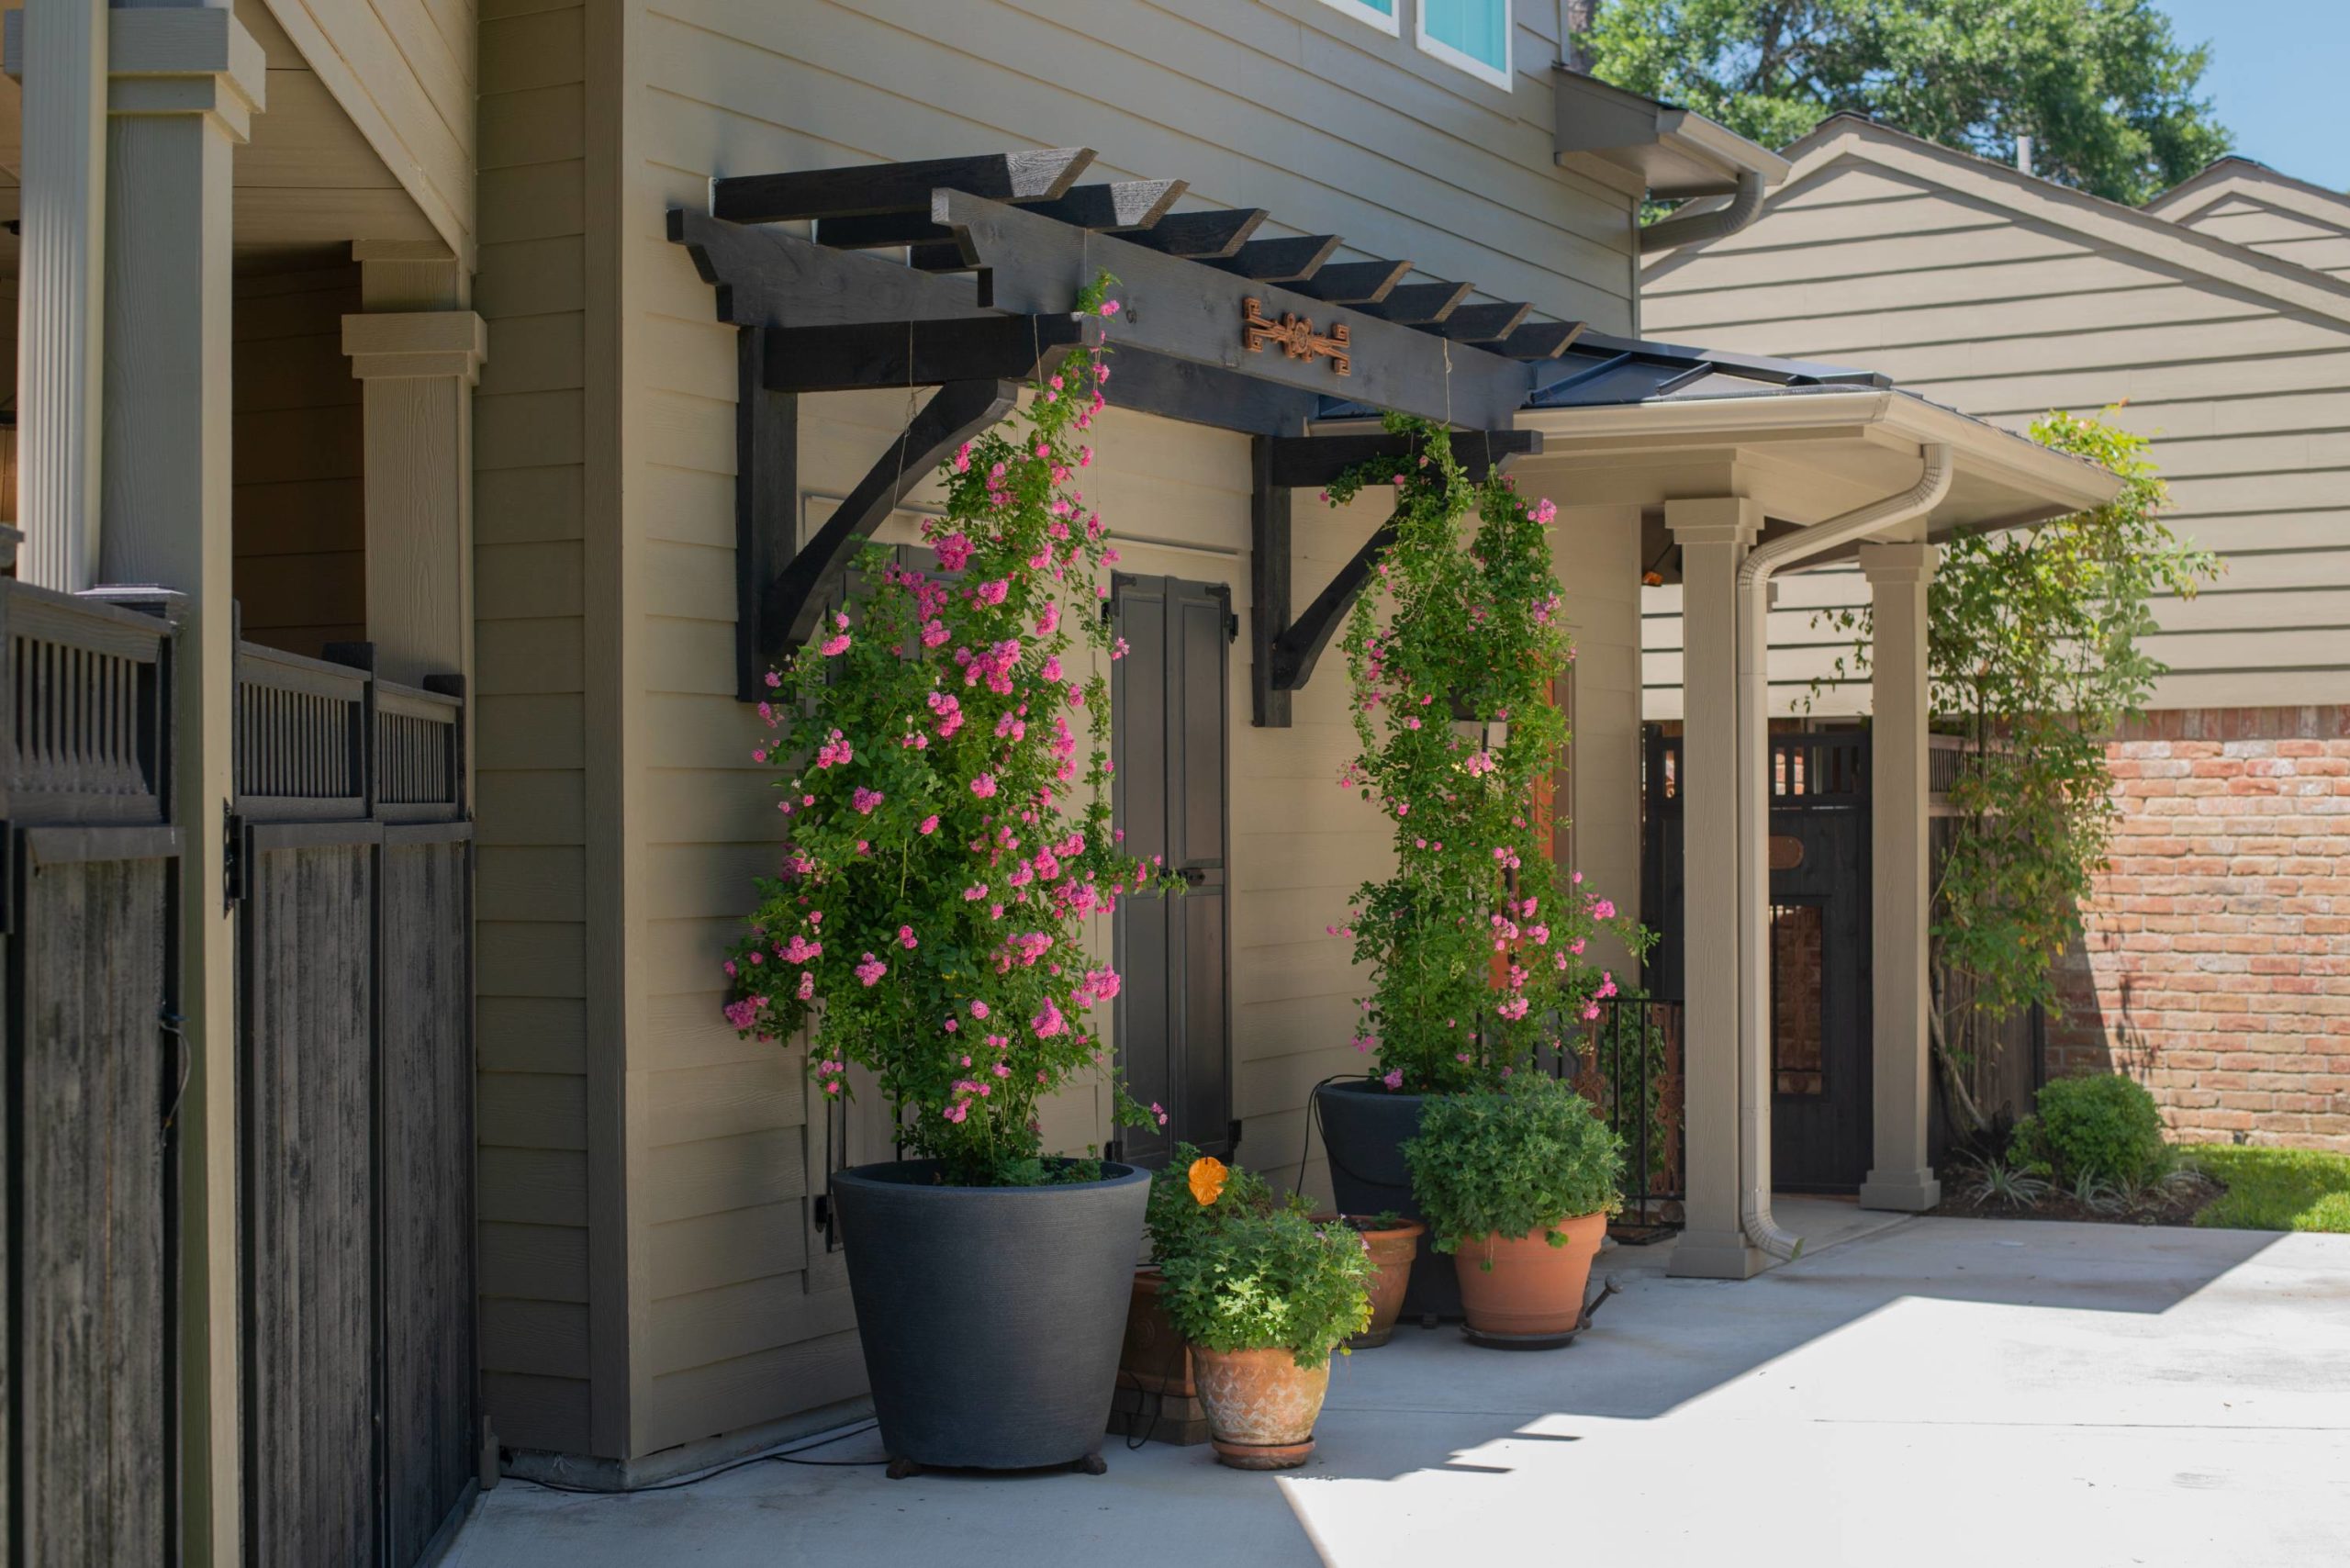
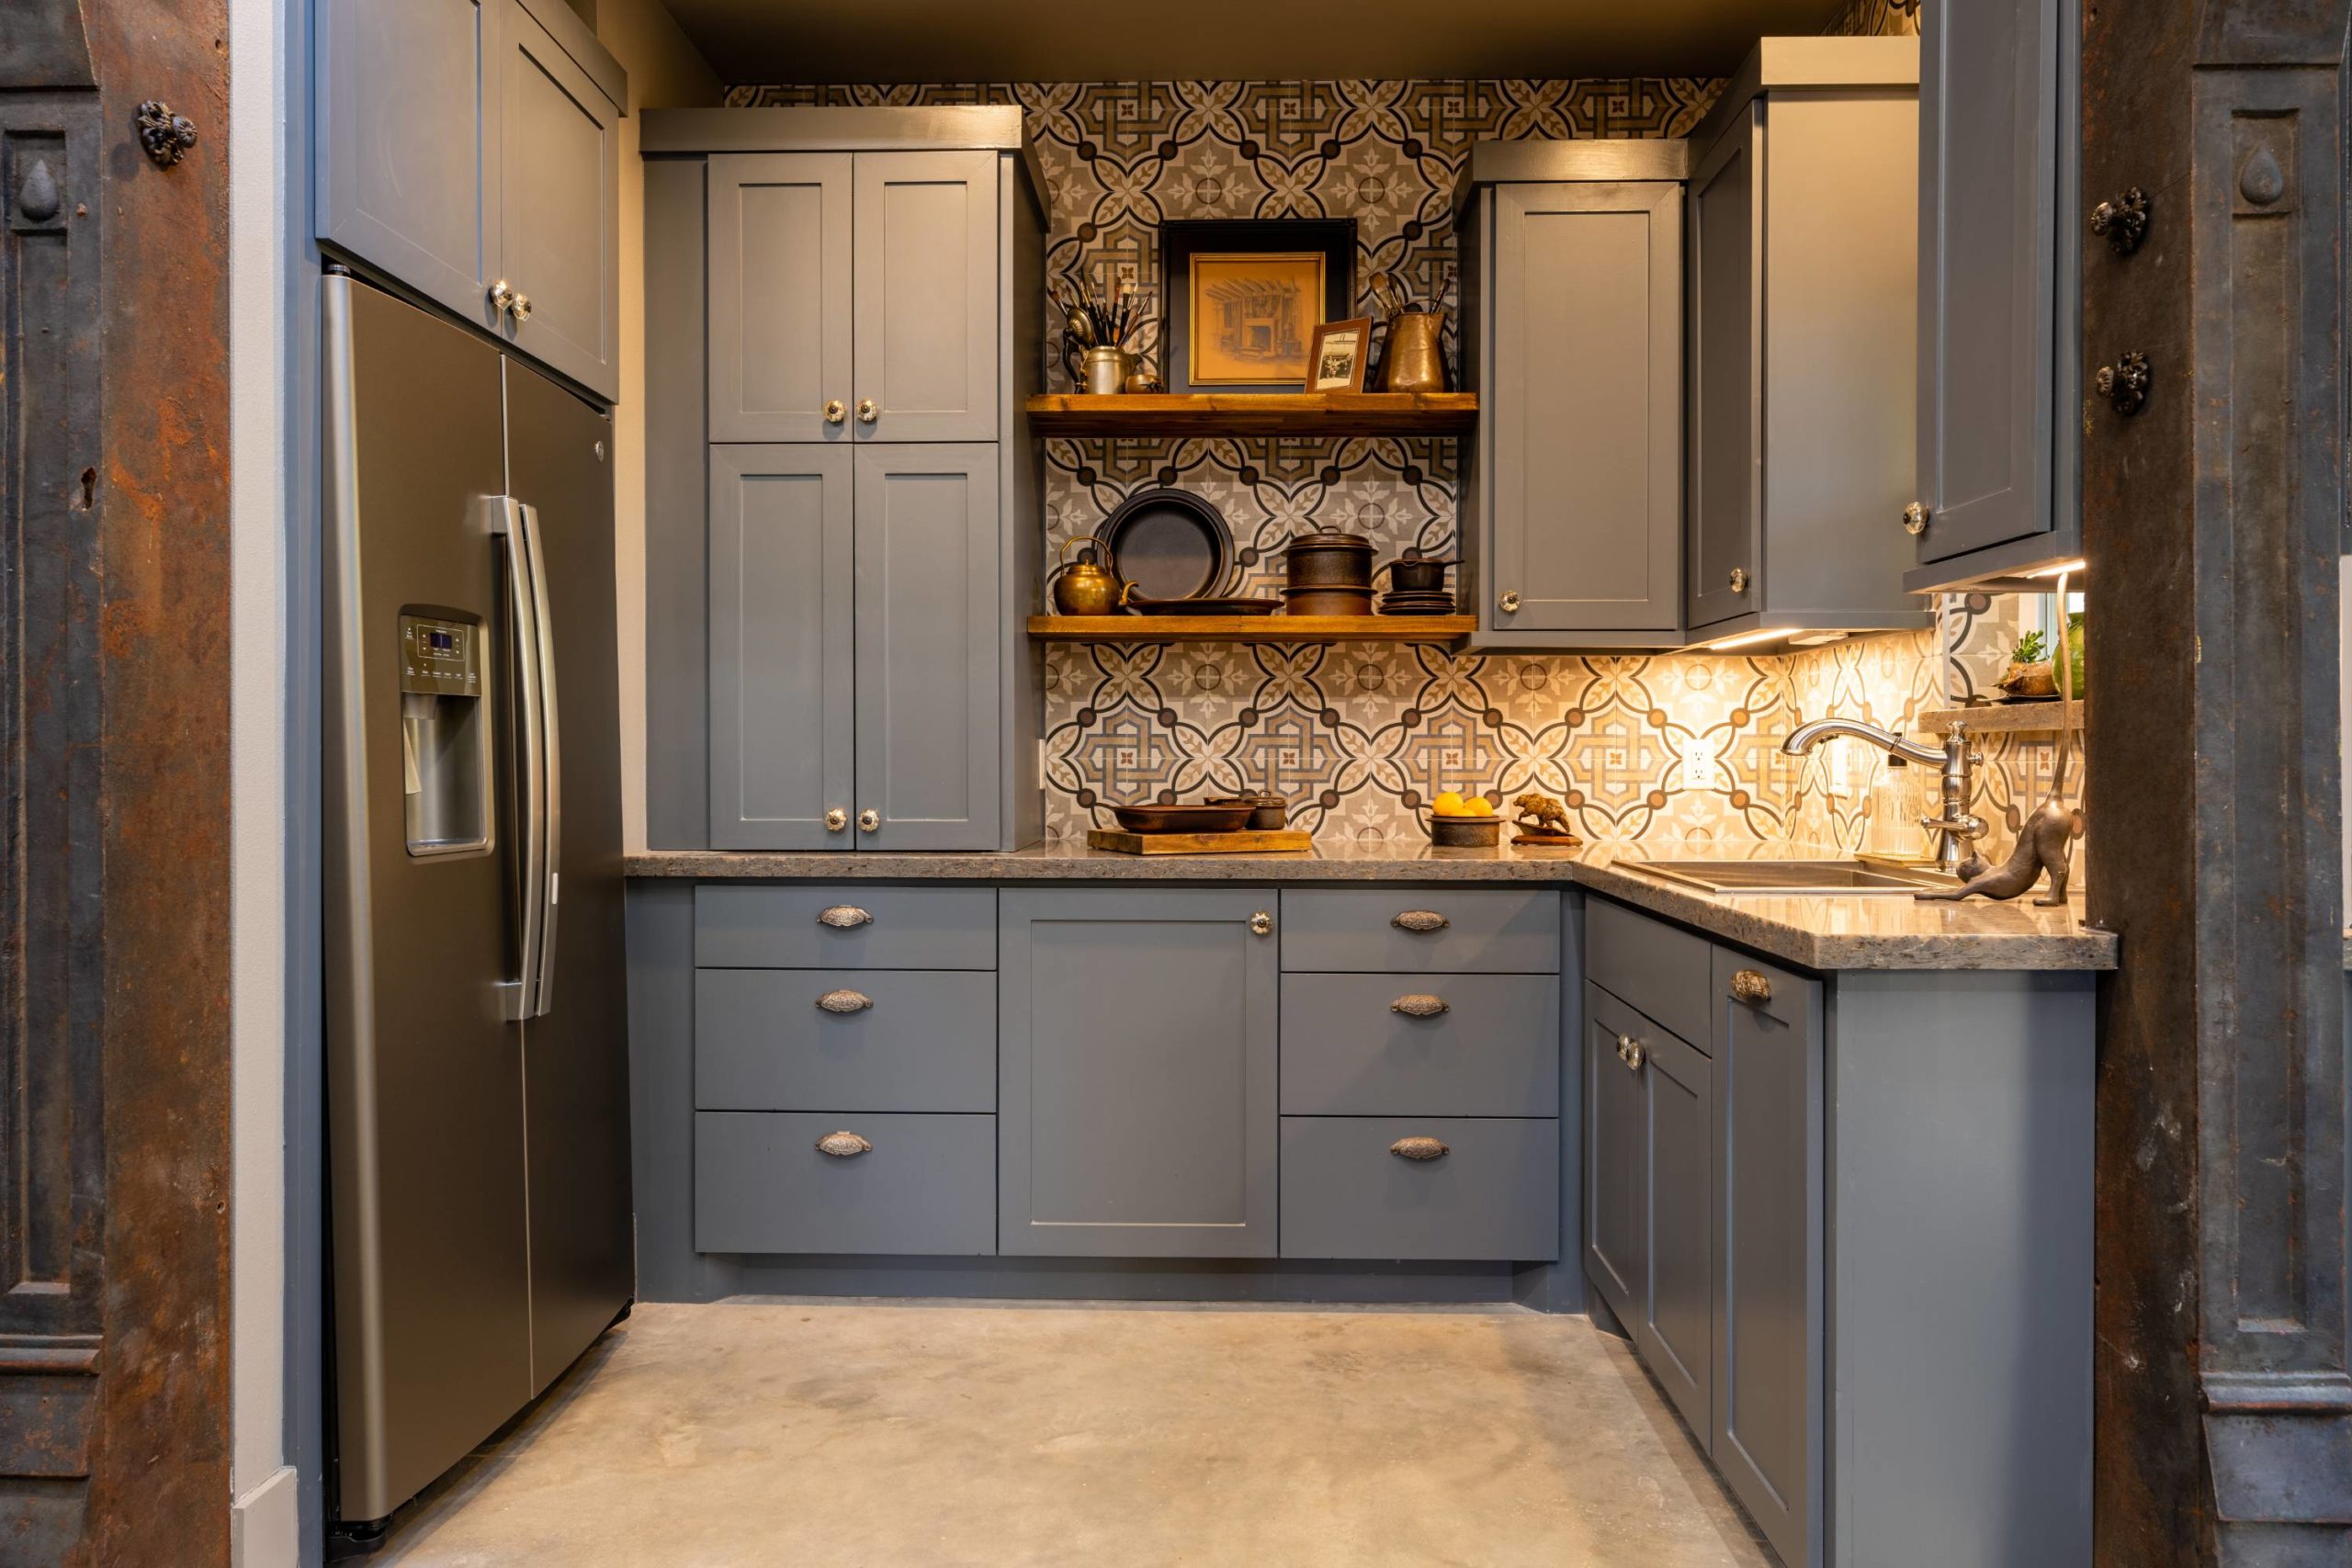
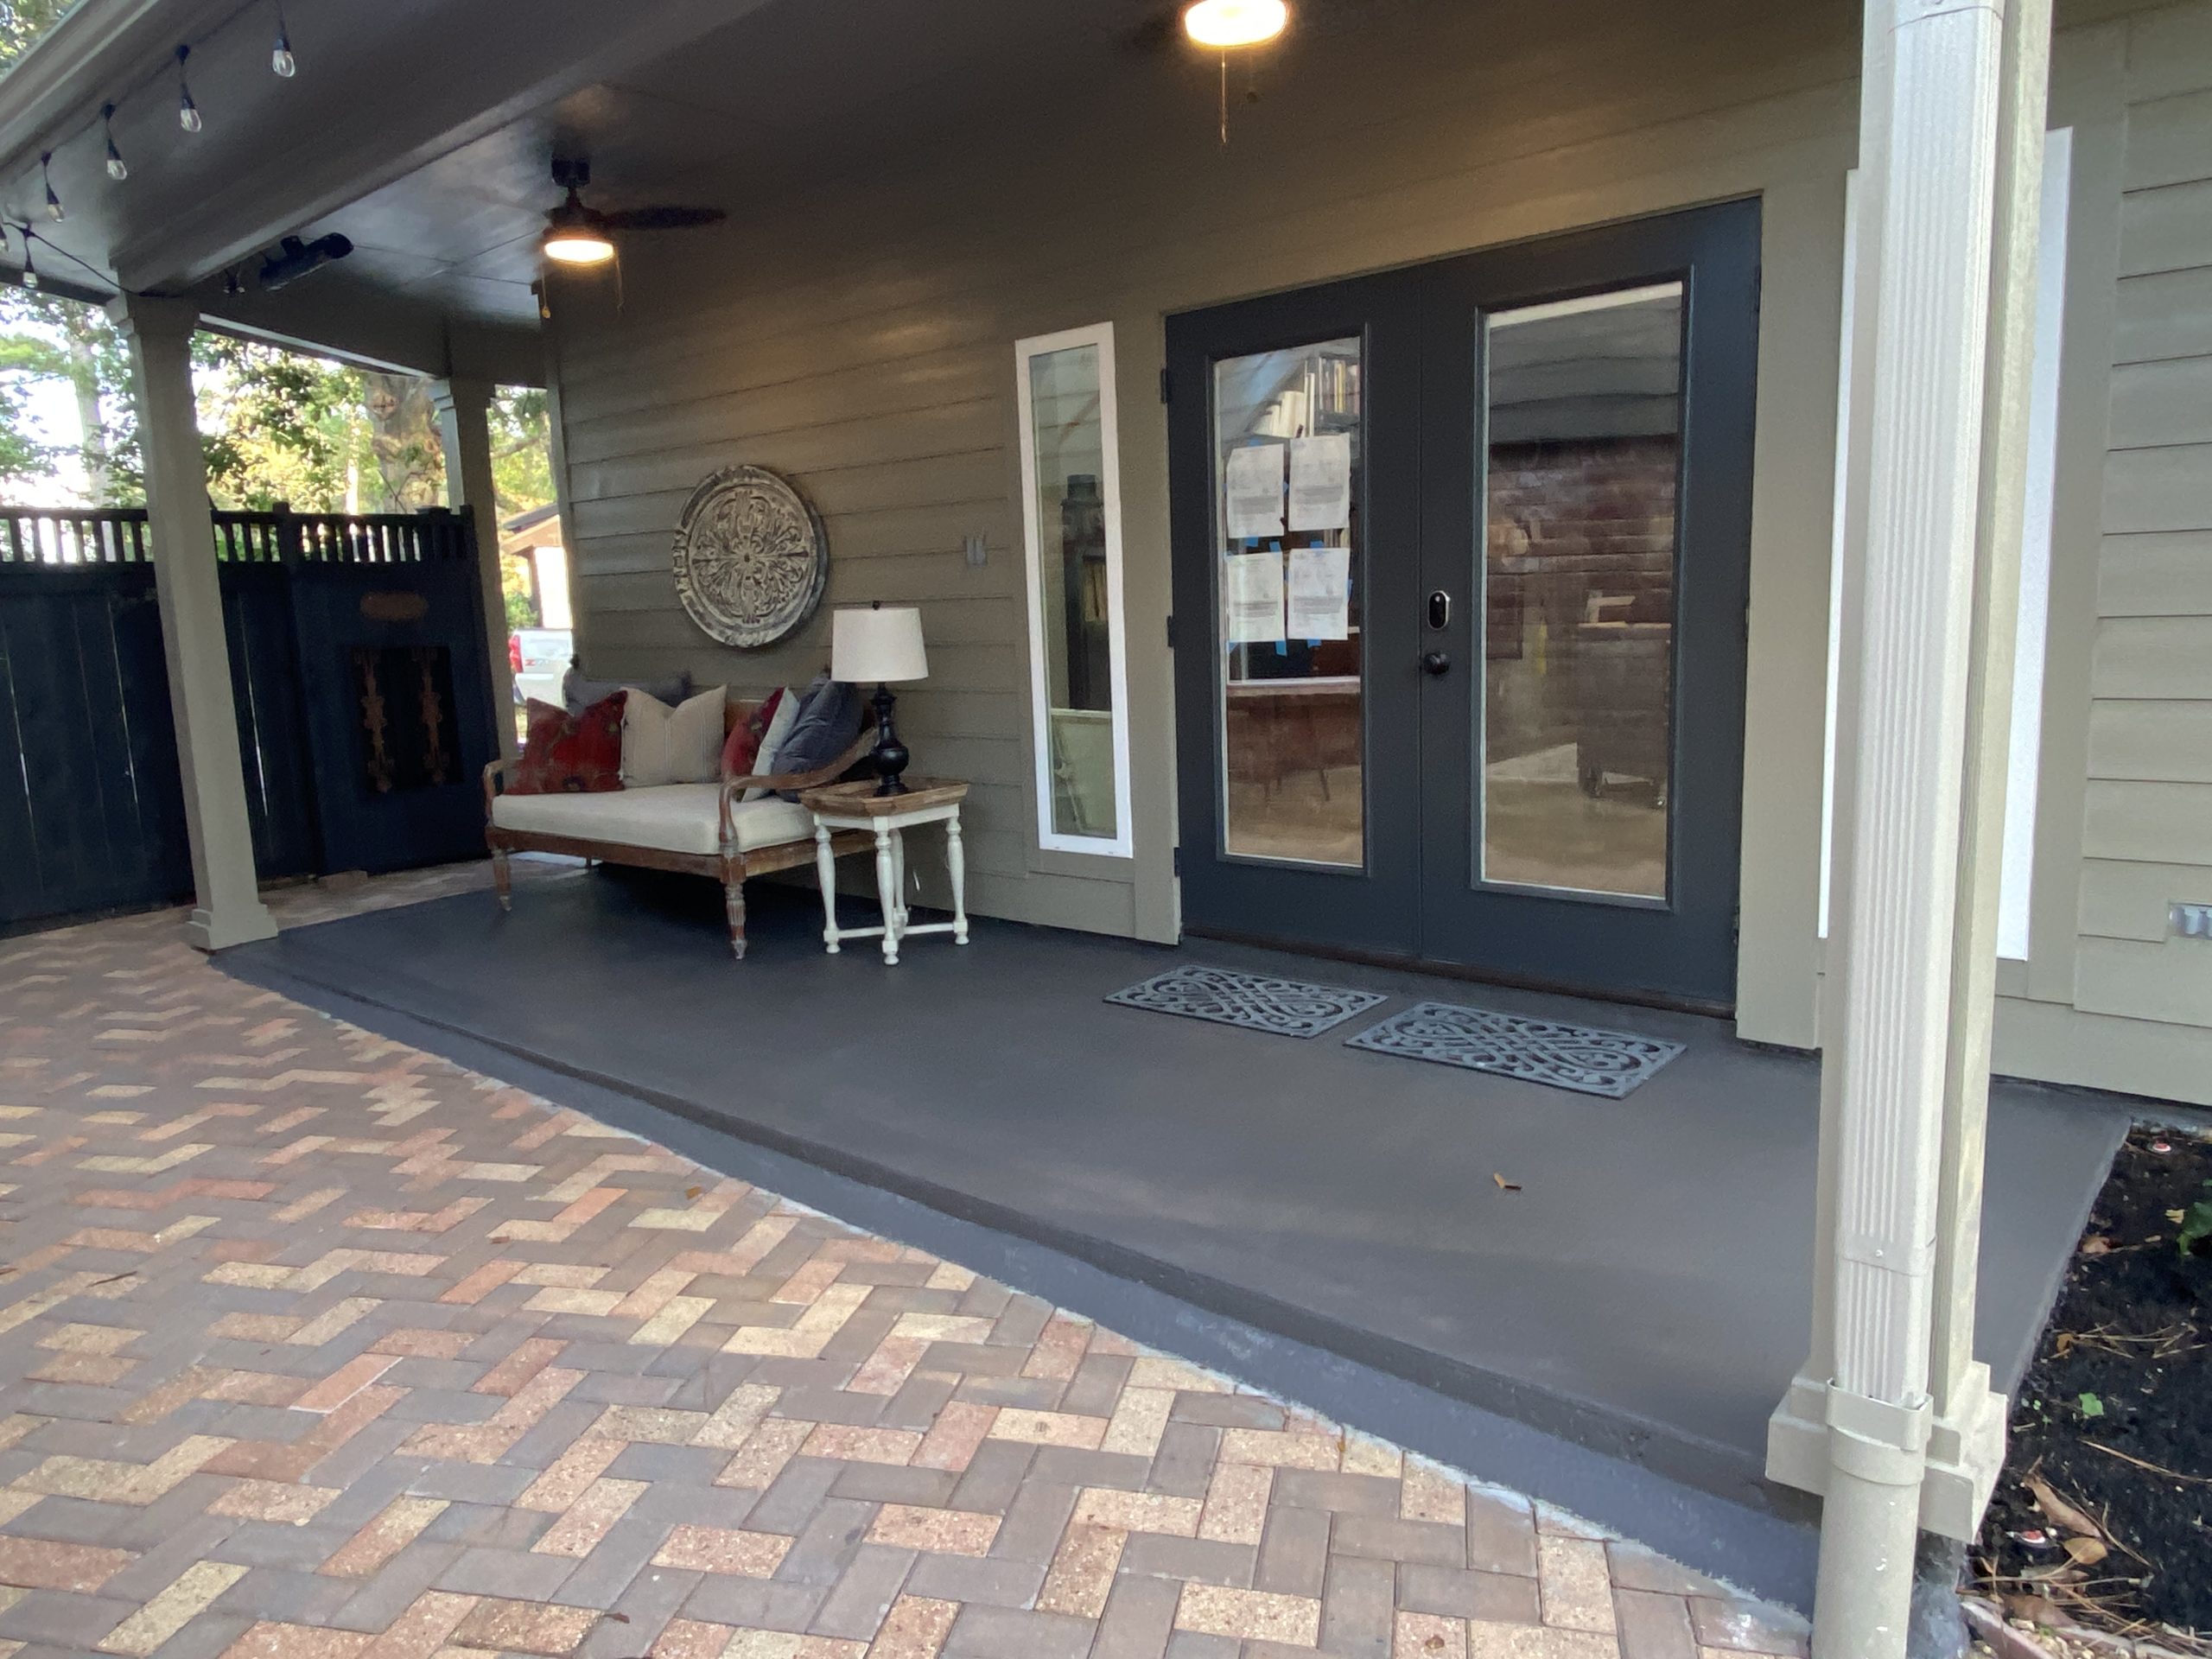
The kitchenette includes a coffee bar, sink, and fridge. Plus, a bedroom, full bath, and patio make this space perfect for visiting family and artist friends.
Proper, consistent, and controllable lighting is essential to any artist. Researching lighting and planning its implementation can make your head spin. My working light consists of the north light windows and a U of shop lights using 12 Waveform, 5000k Bulbs with a 95+ CRI rating. Each 8-foot section, made of joined together 4” shop lights, is on its own switch. I added a chandelier to mix some form into all that function.
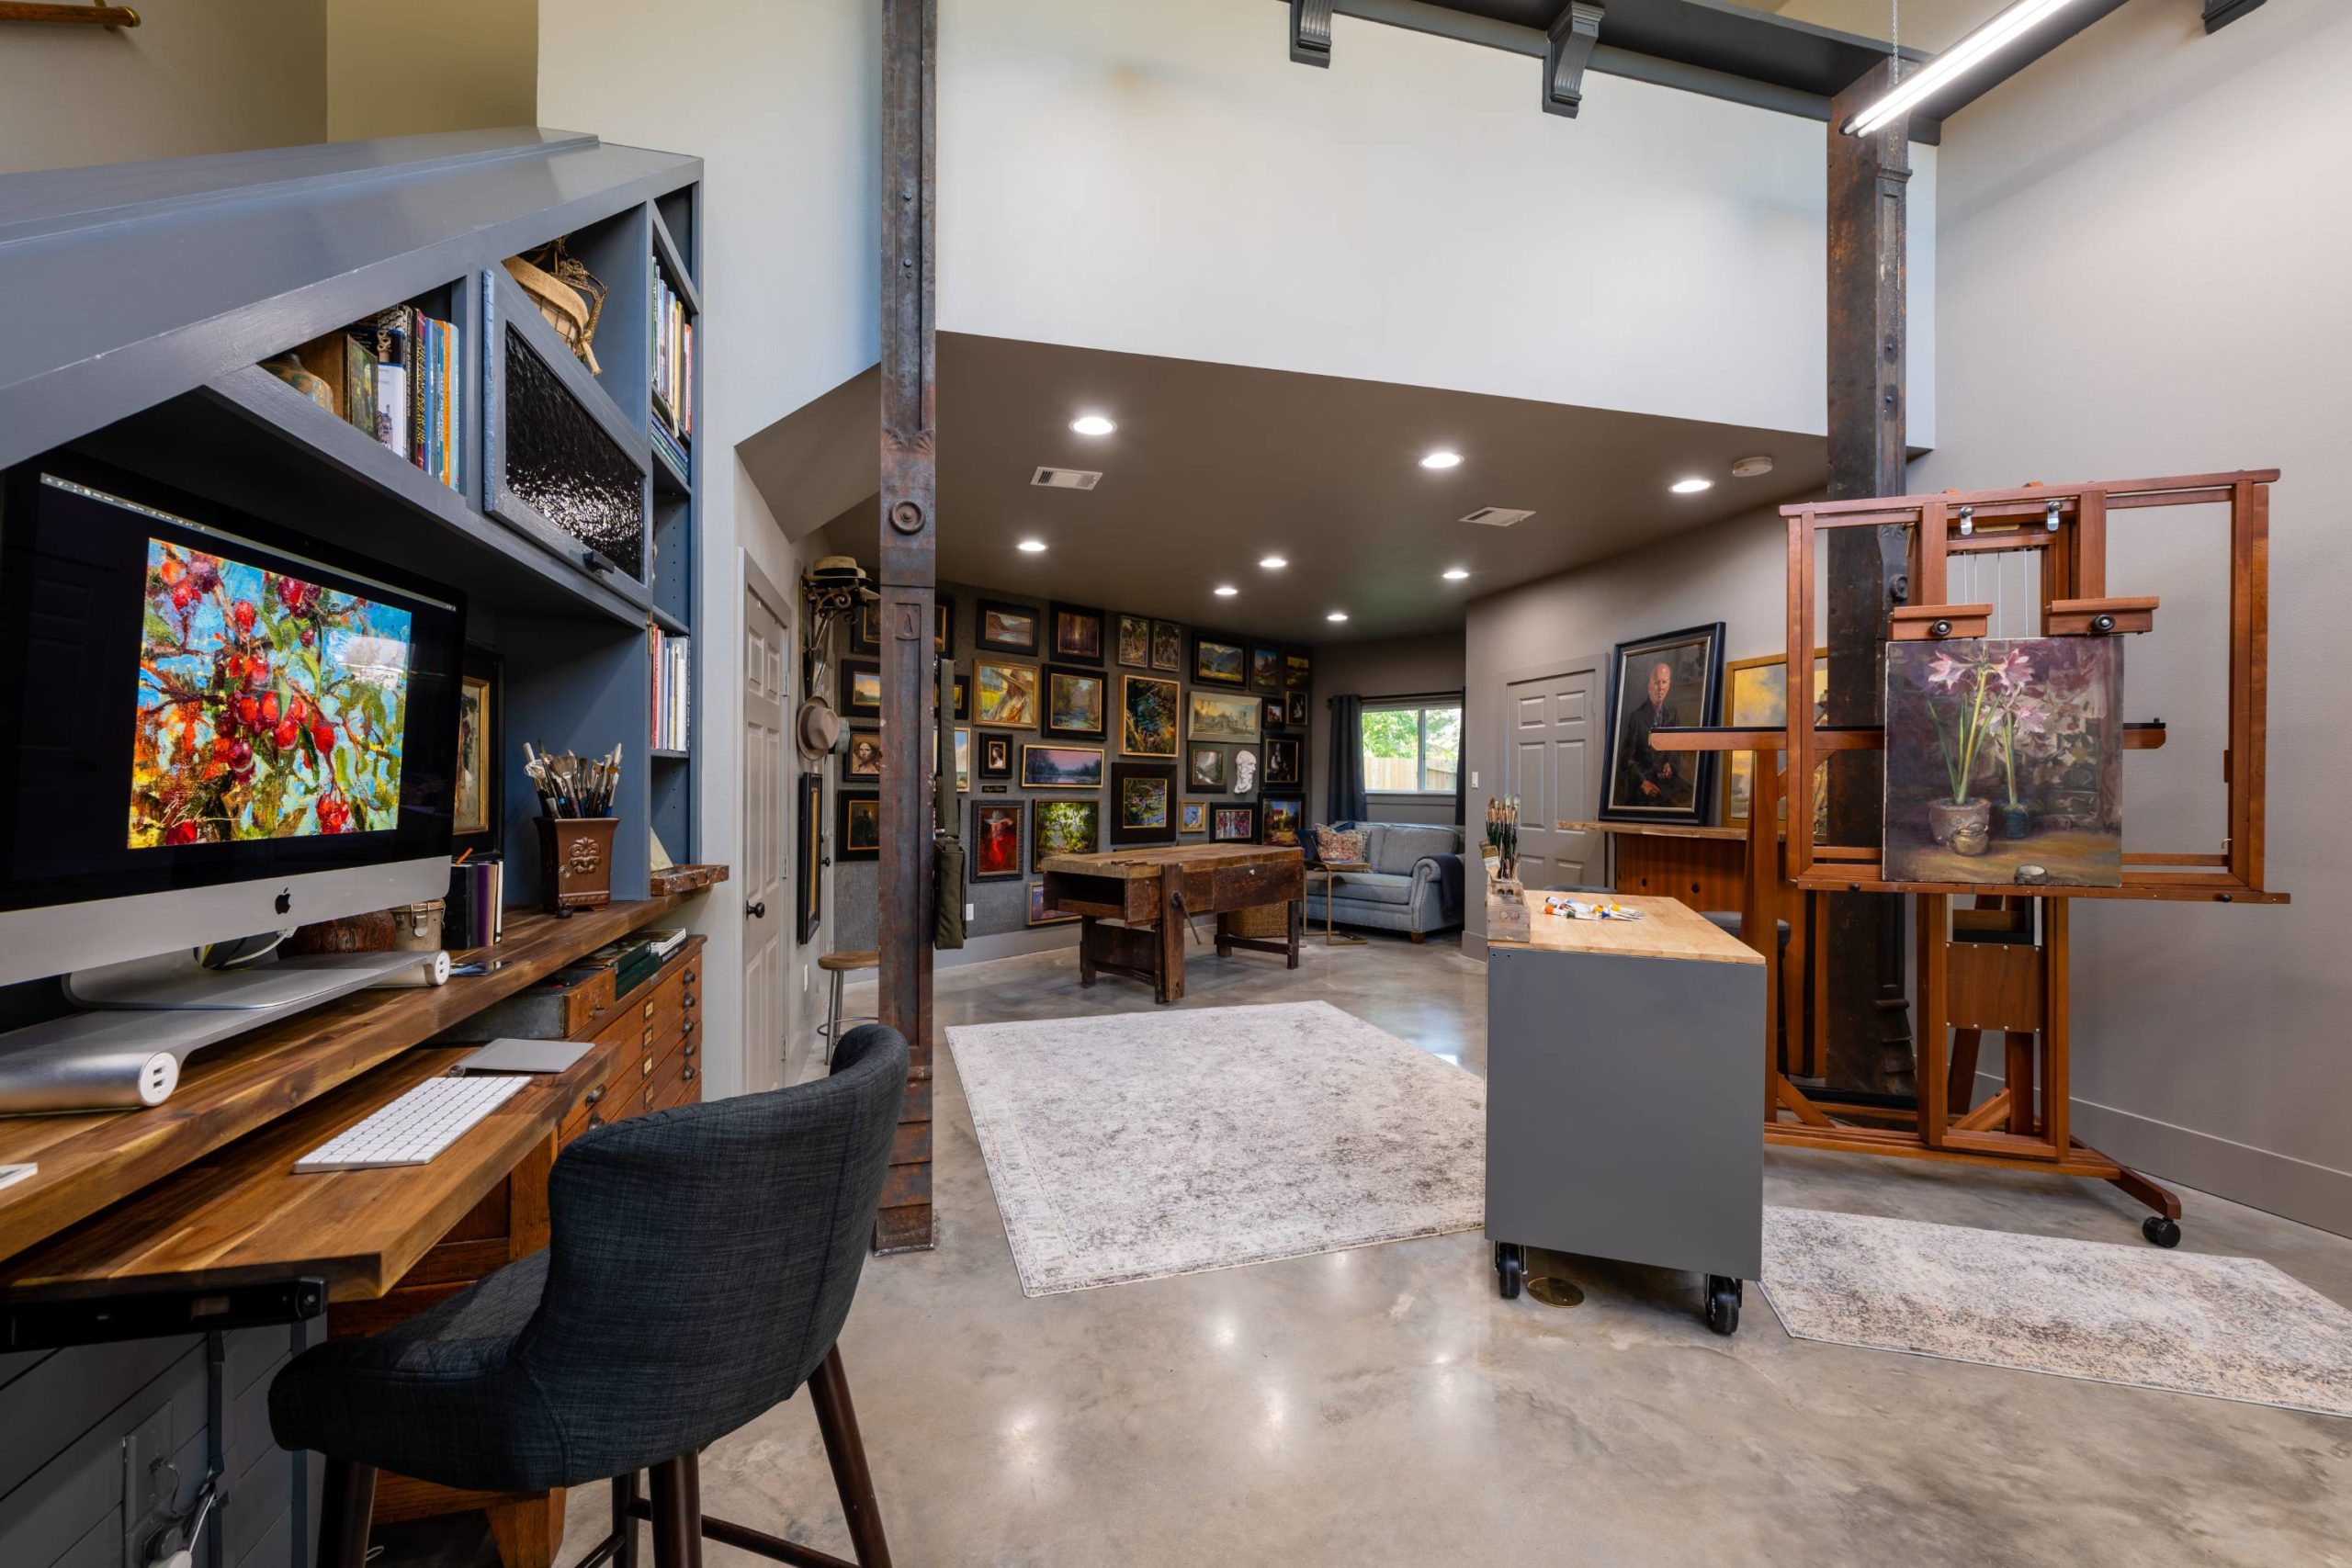
These ground floor views show north light windows, concrete floors, Hughes 4000 Easel, and Husky tool chest taboret. The four iron beams, an architectural find, became central to the design of the space.
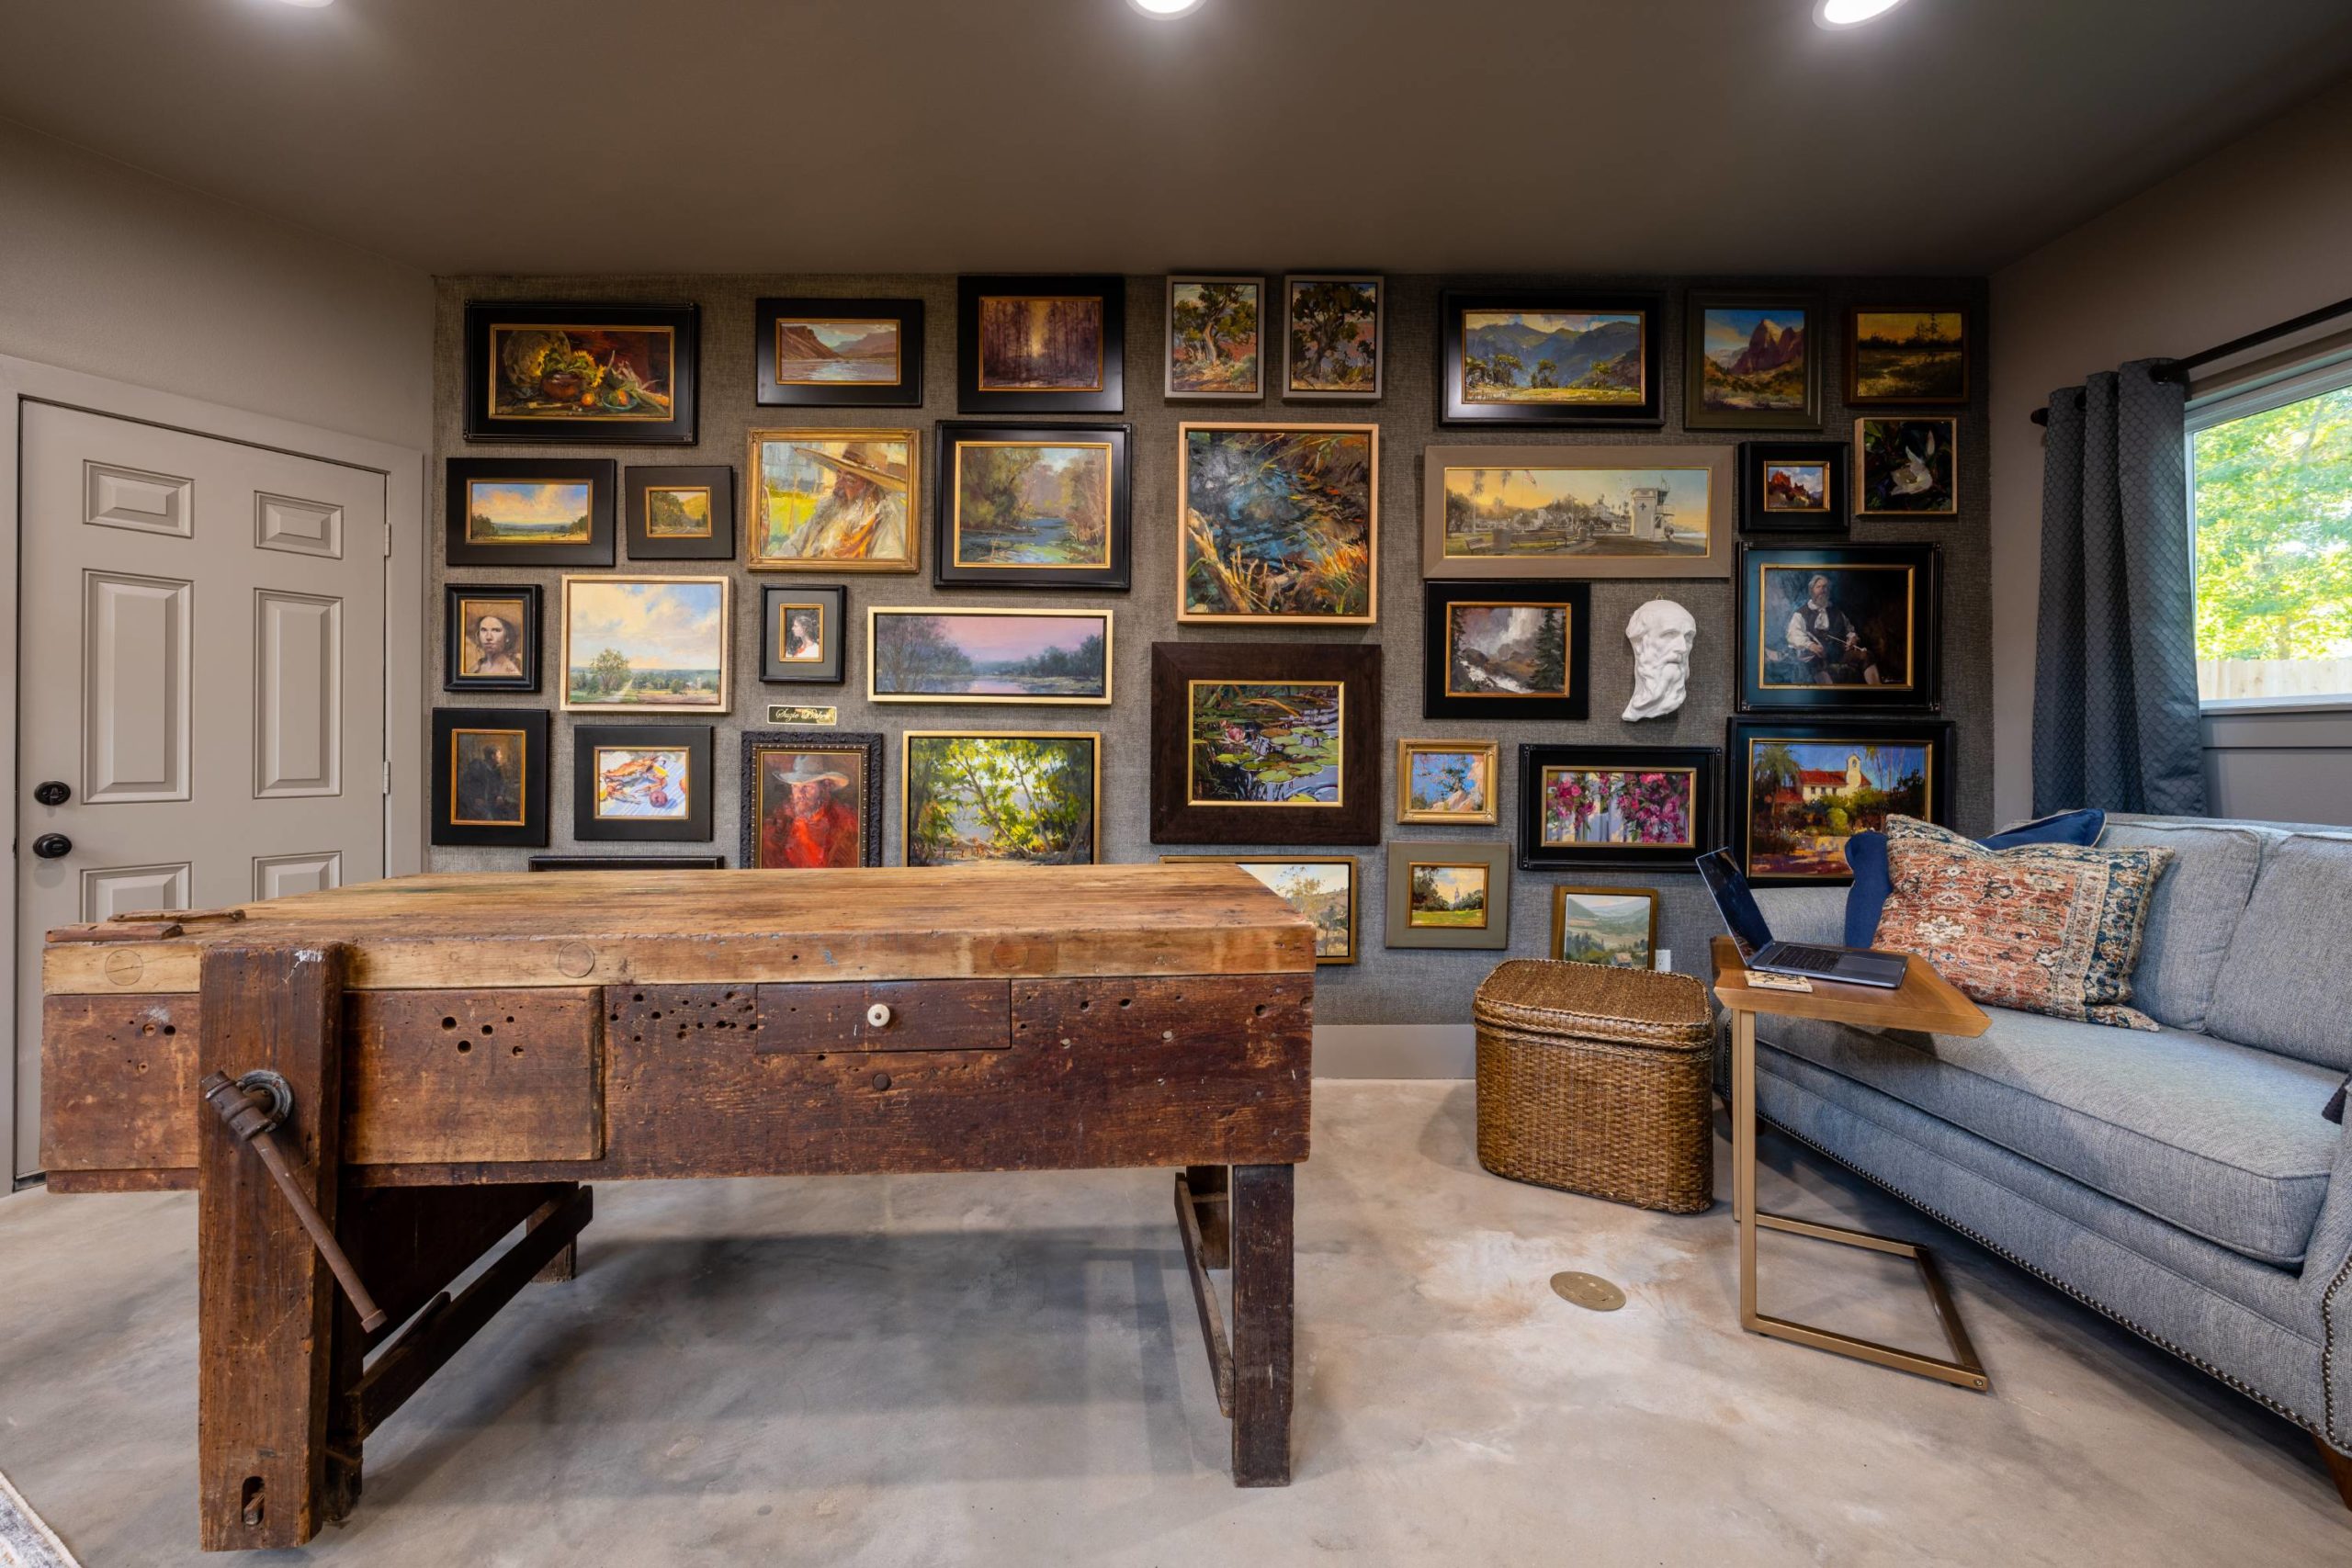
The upstairs guest space includes an eclectic mix of furnishing and vintage pieces my Dad hung onto since the 70s.
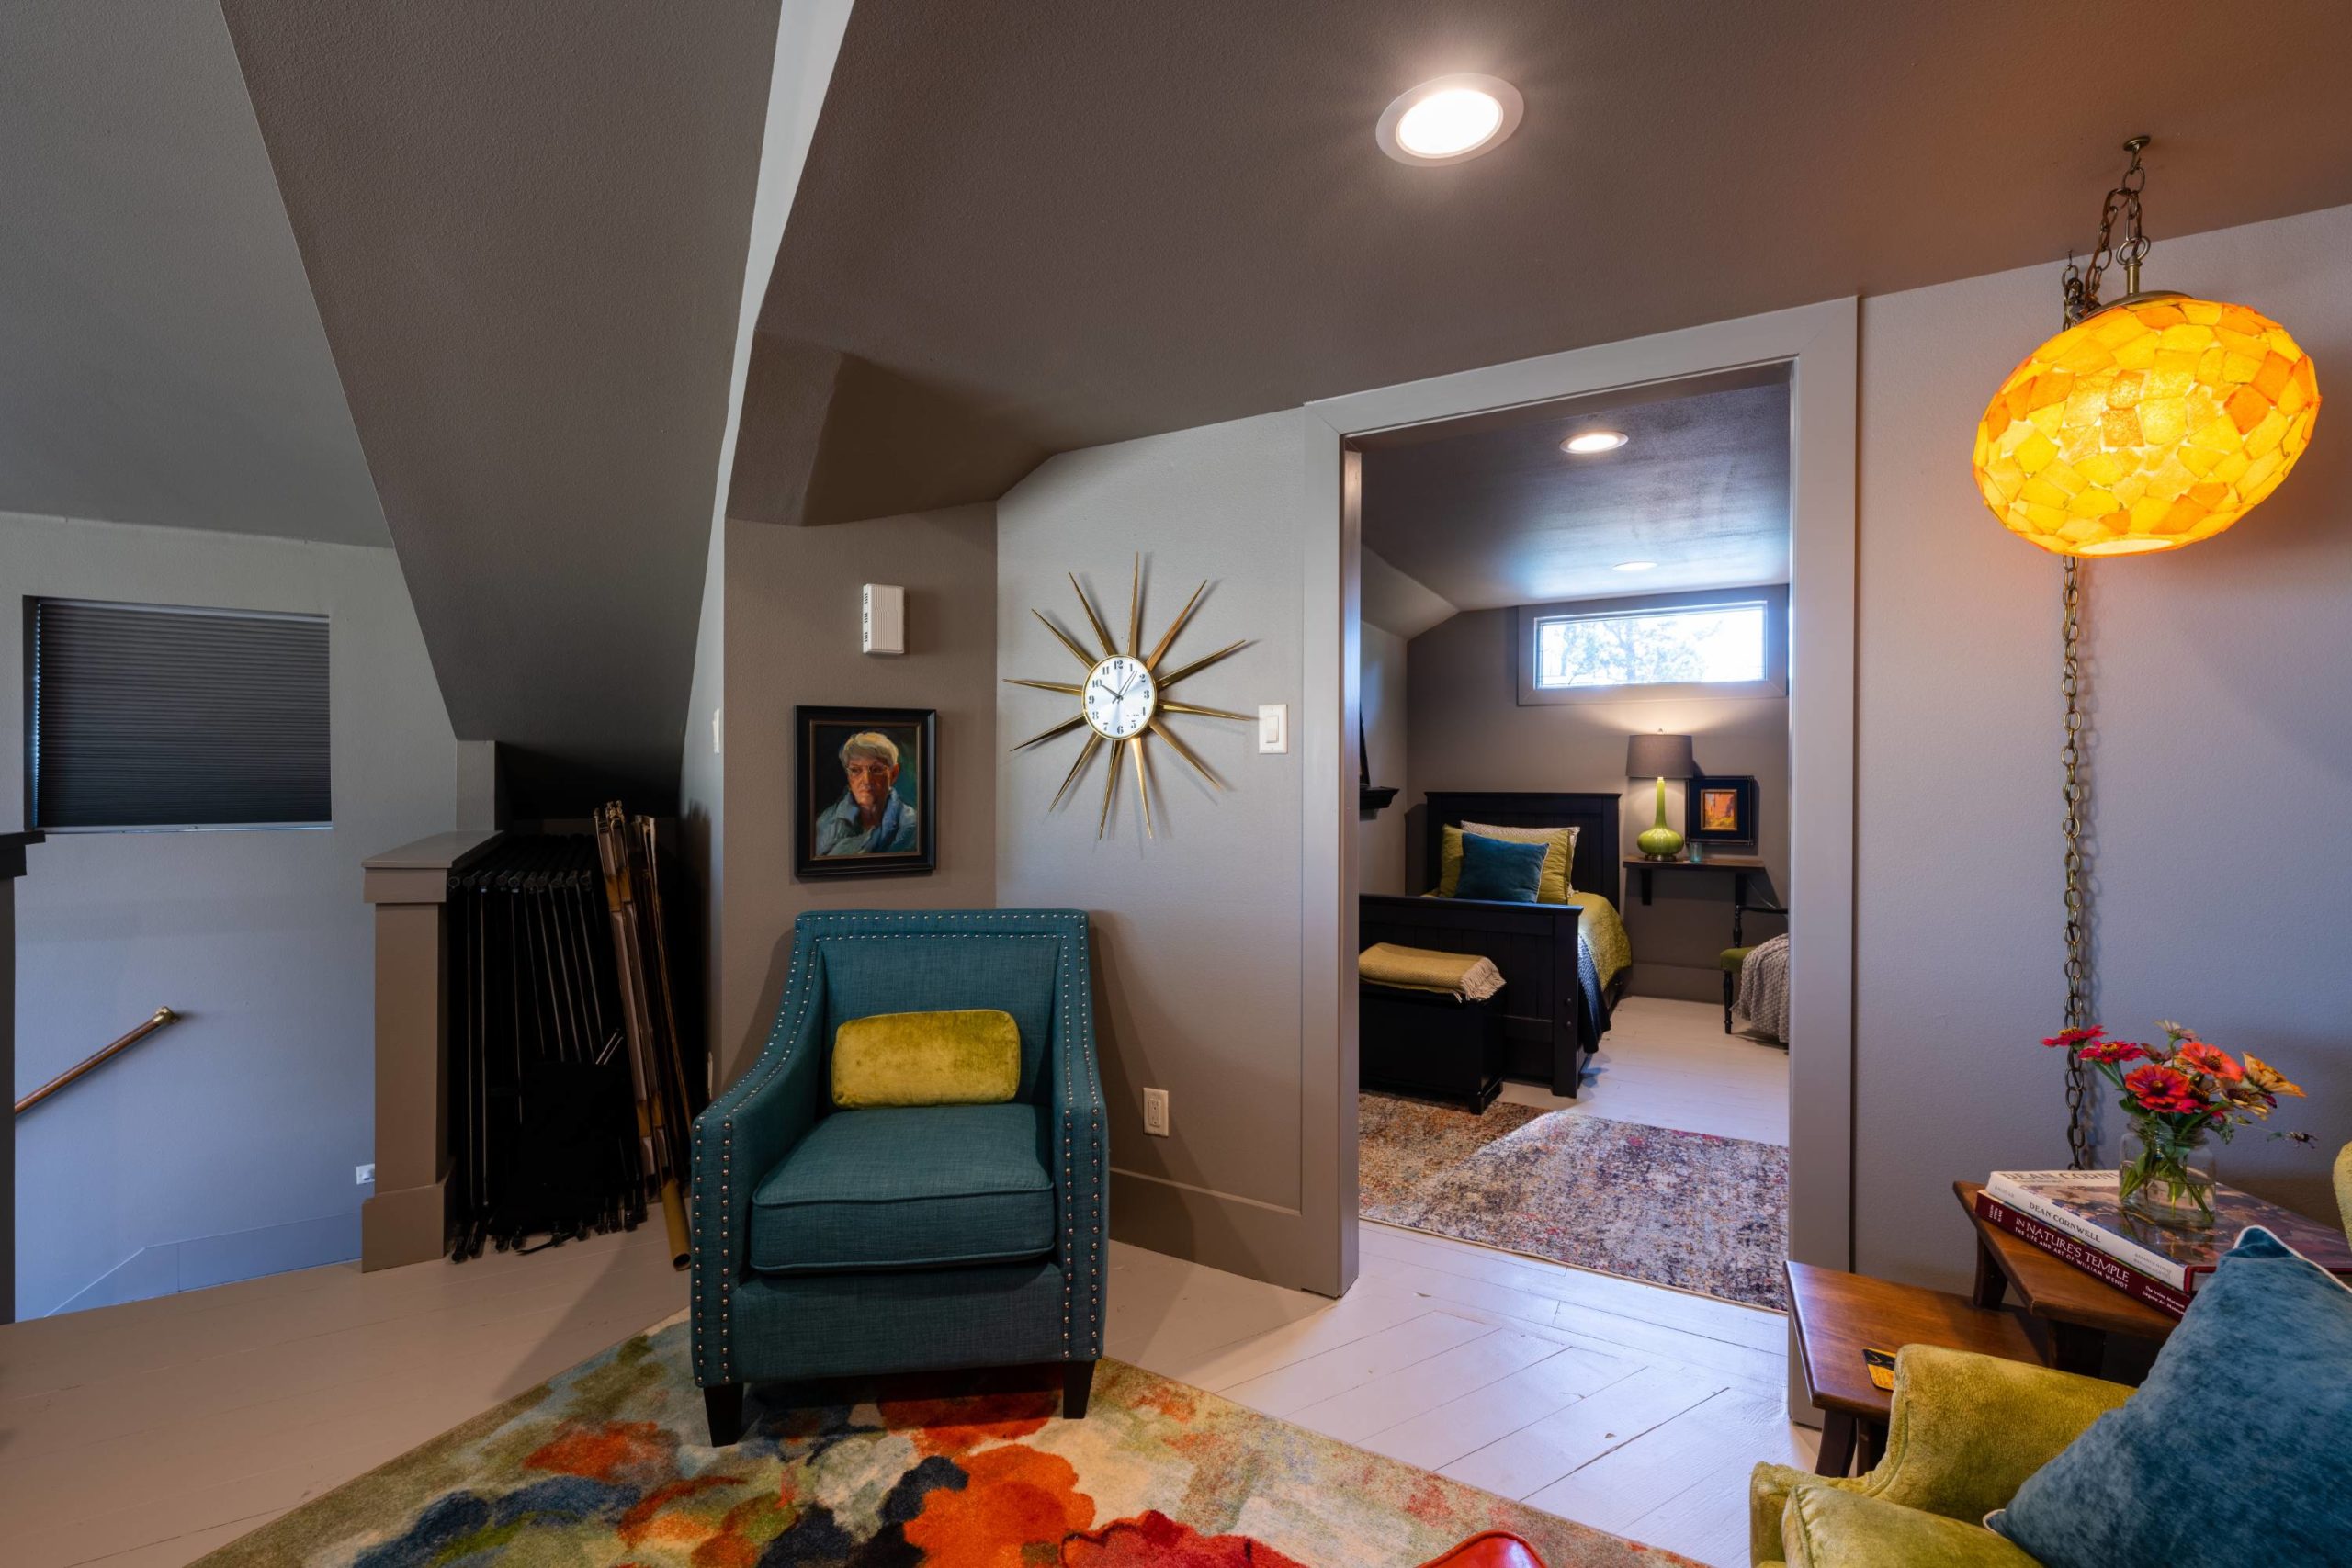
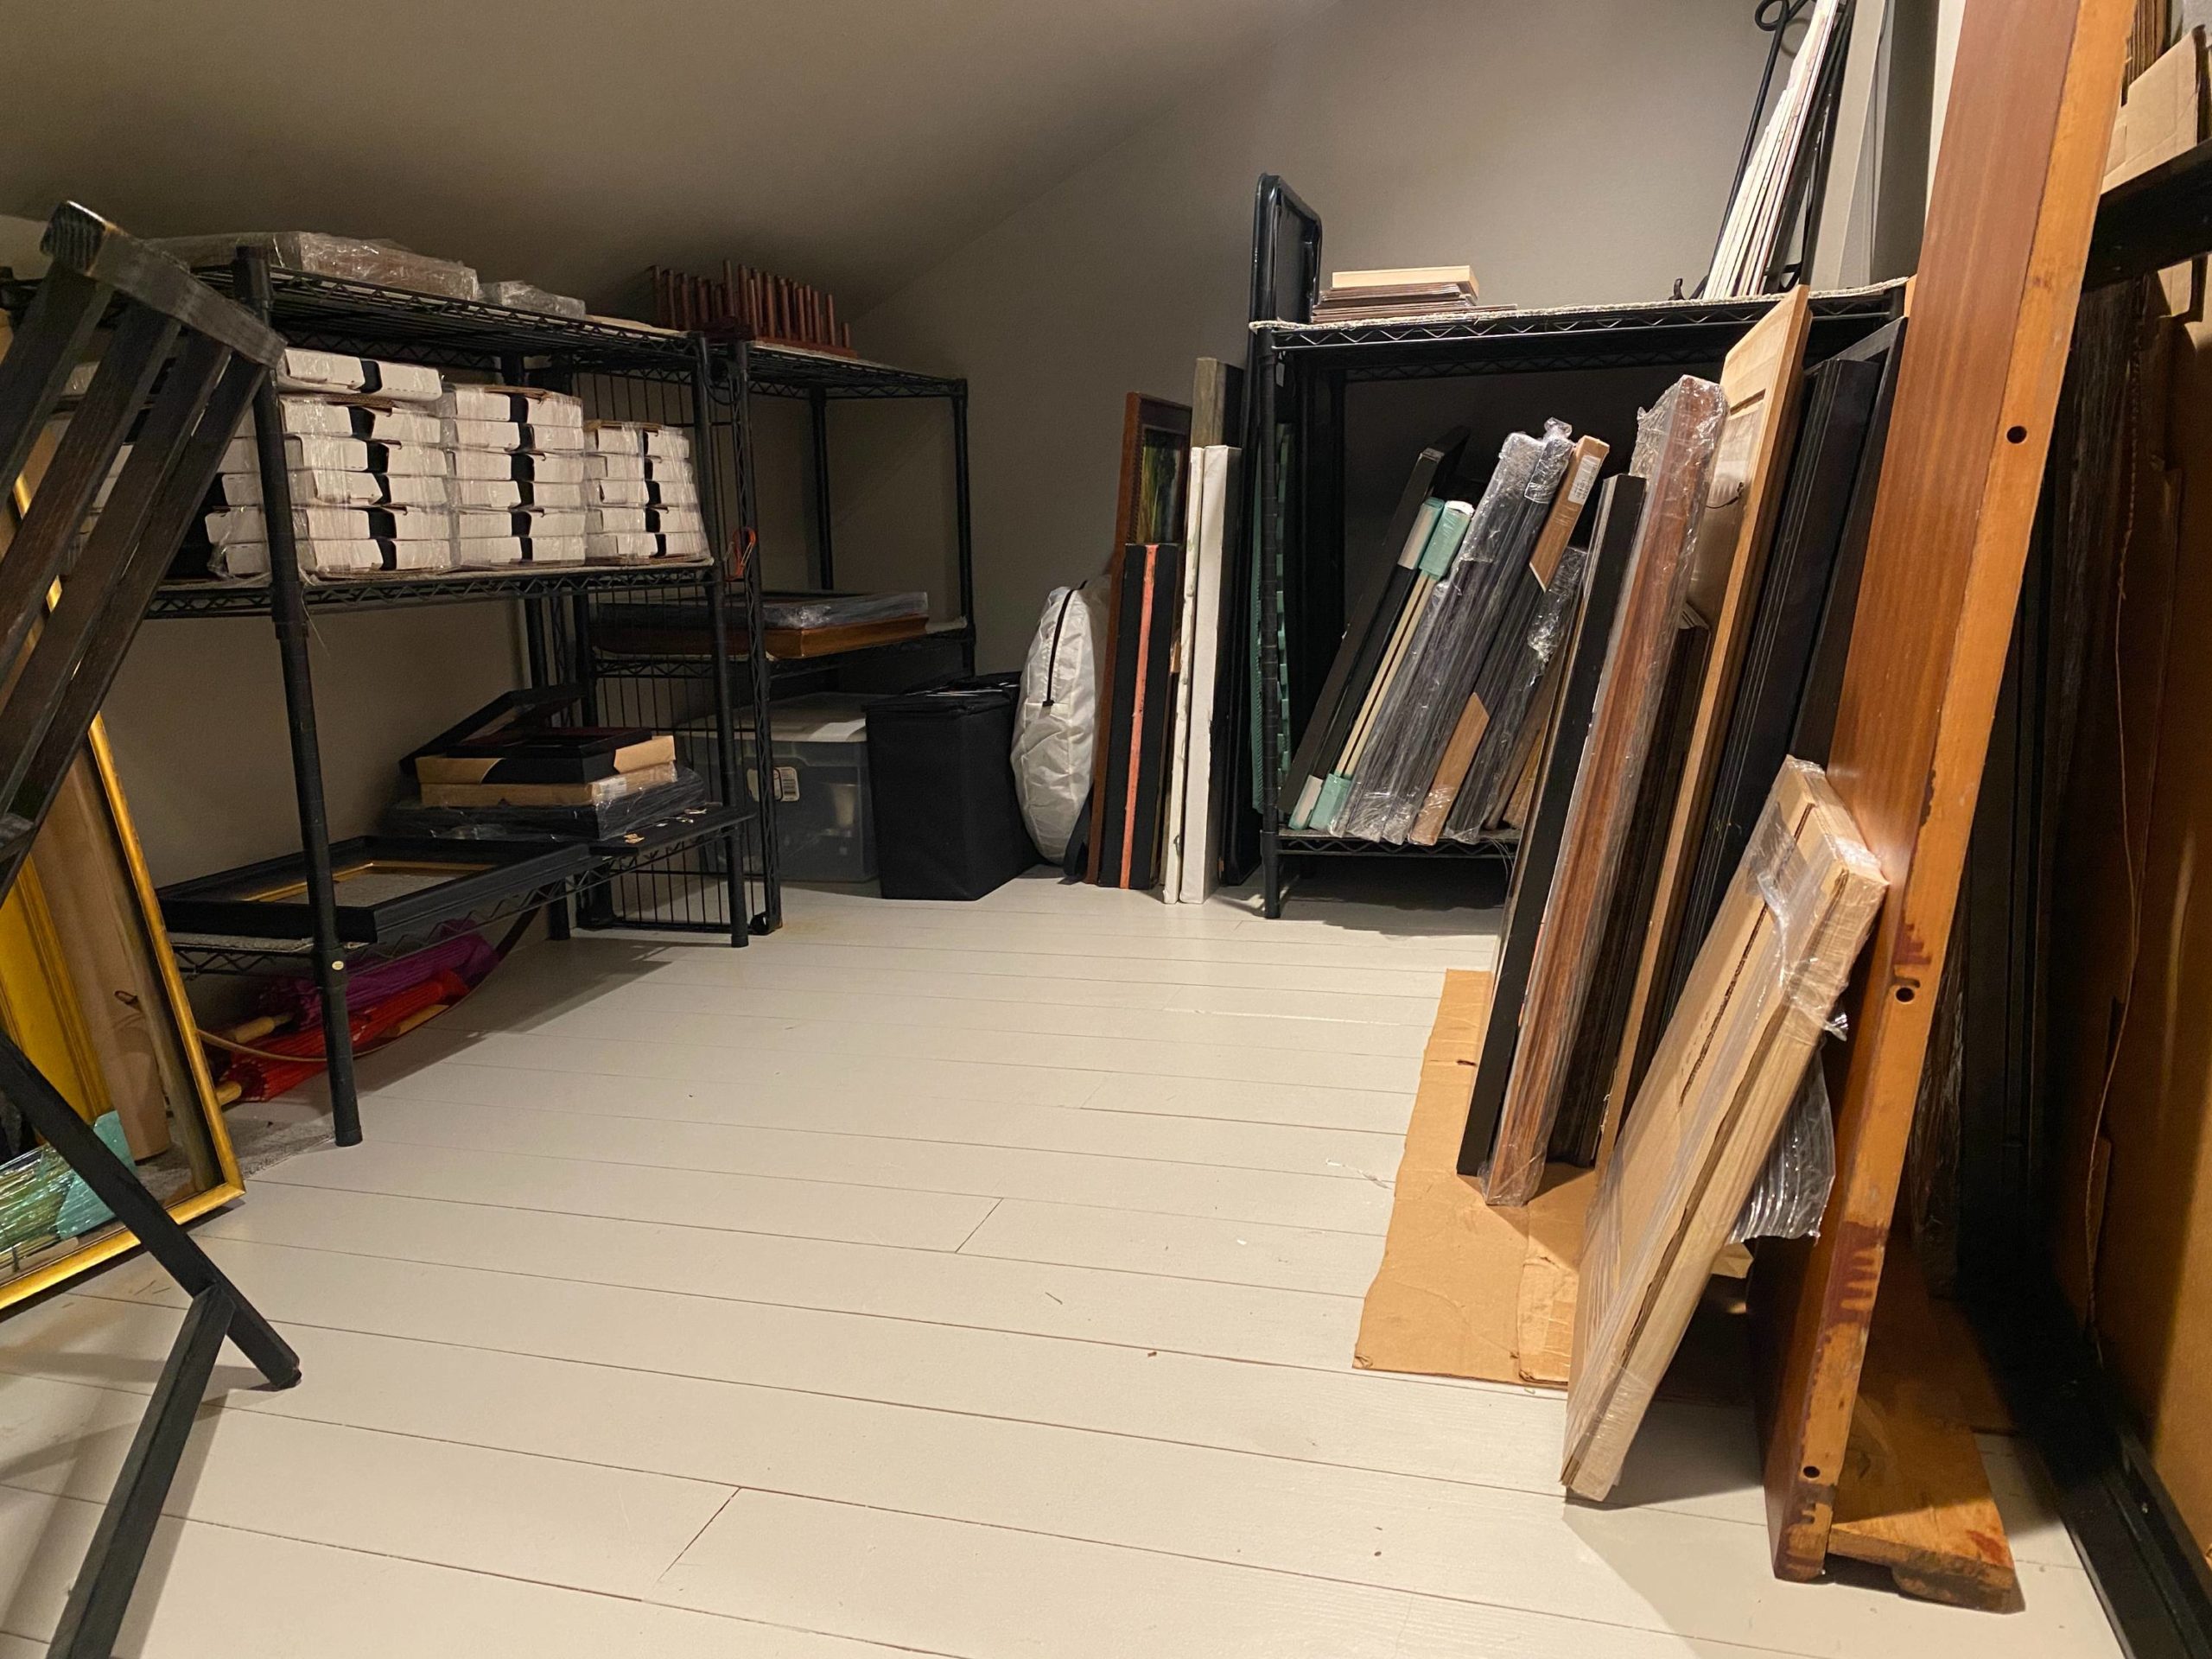
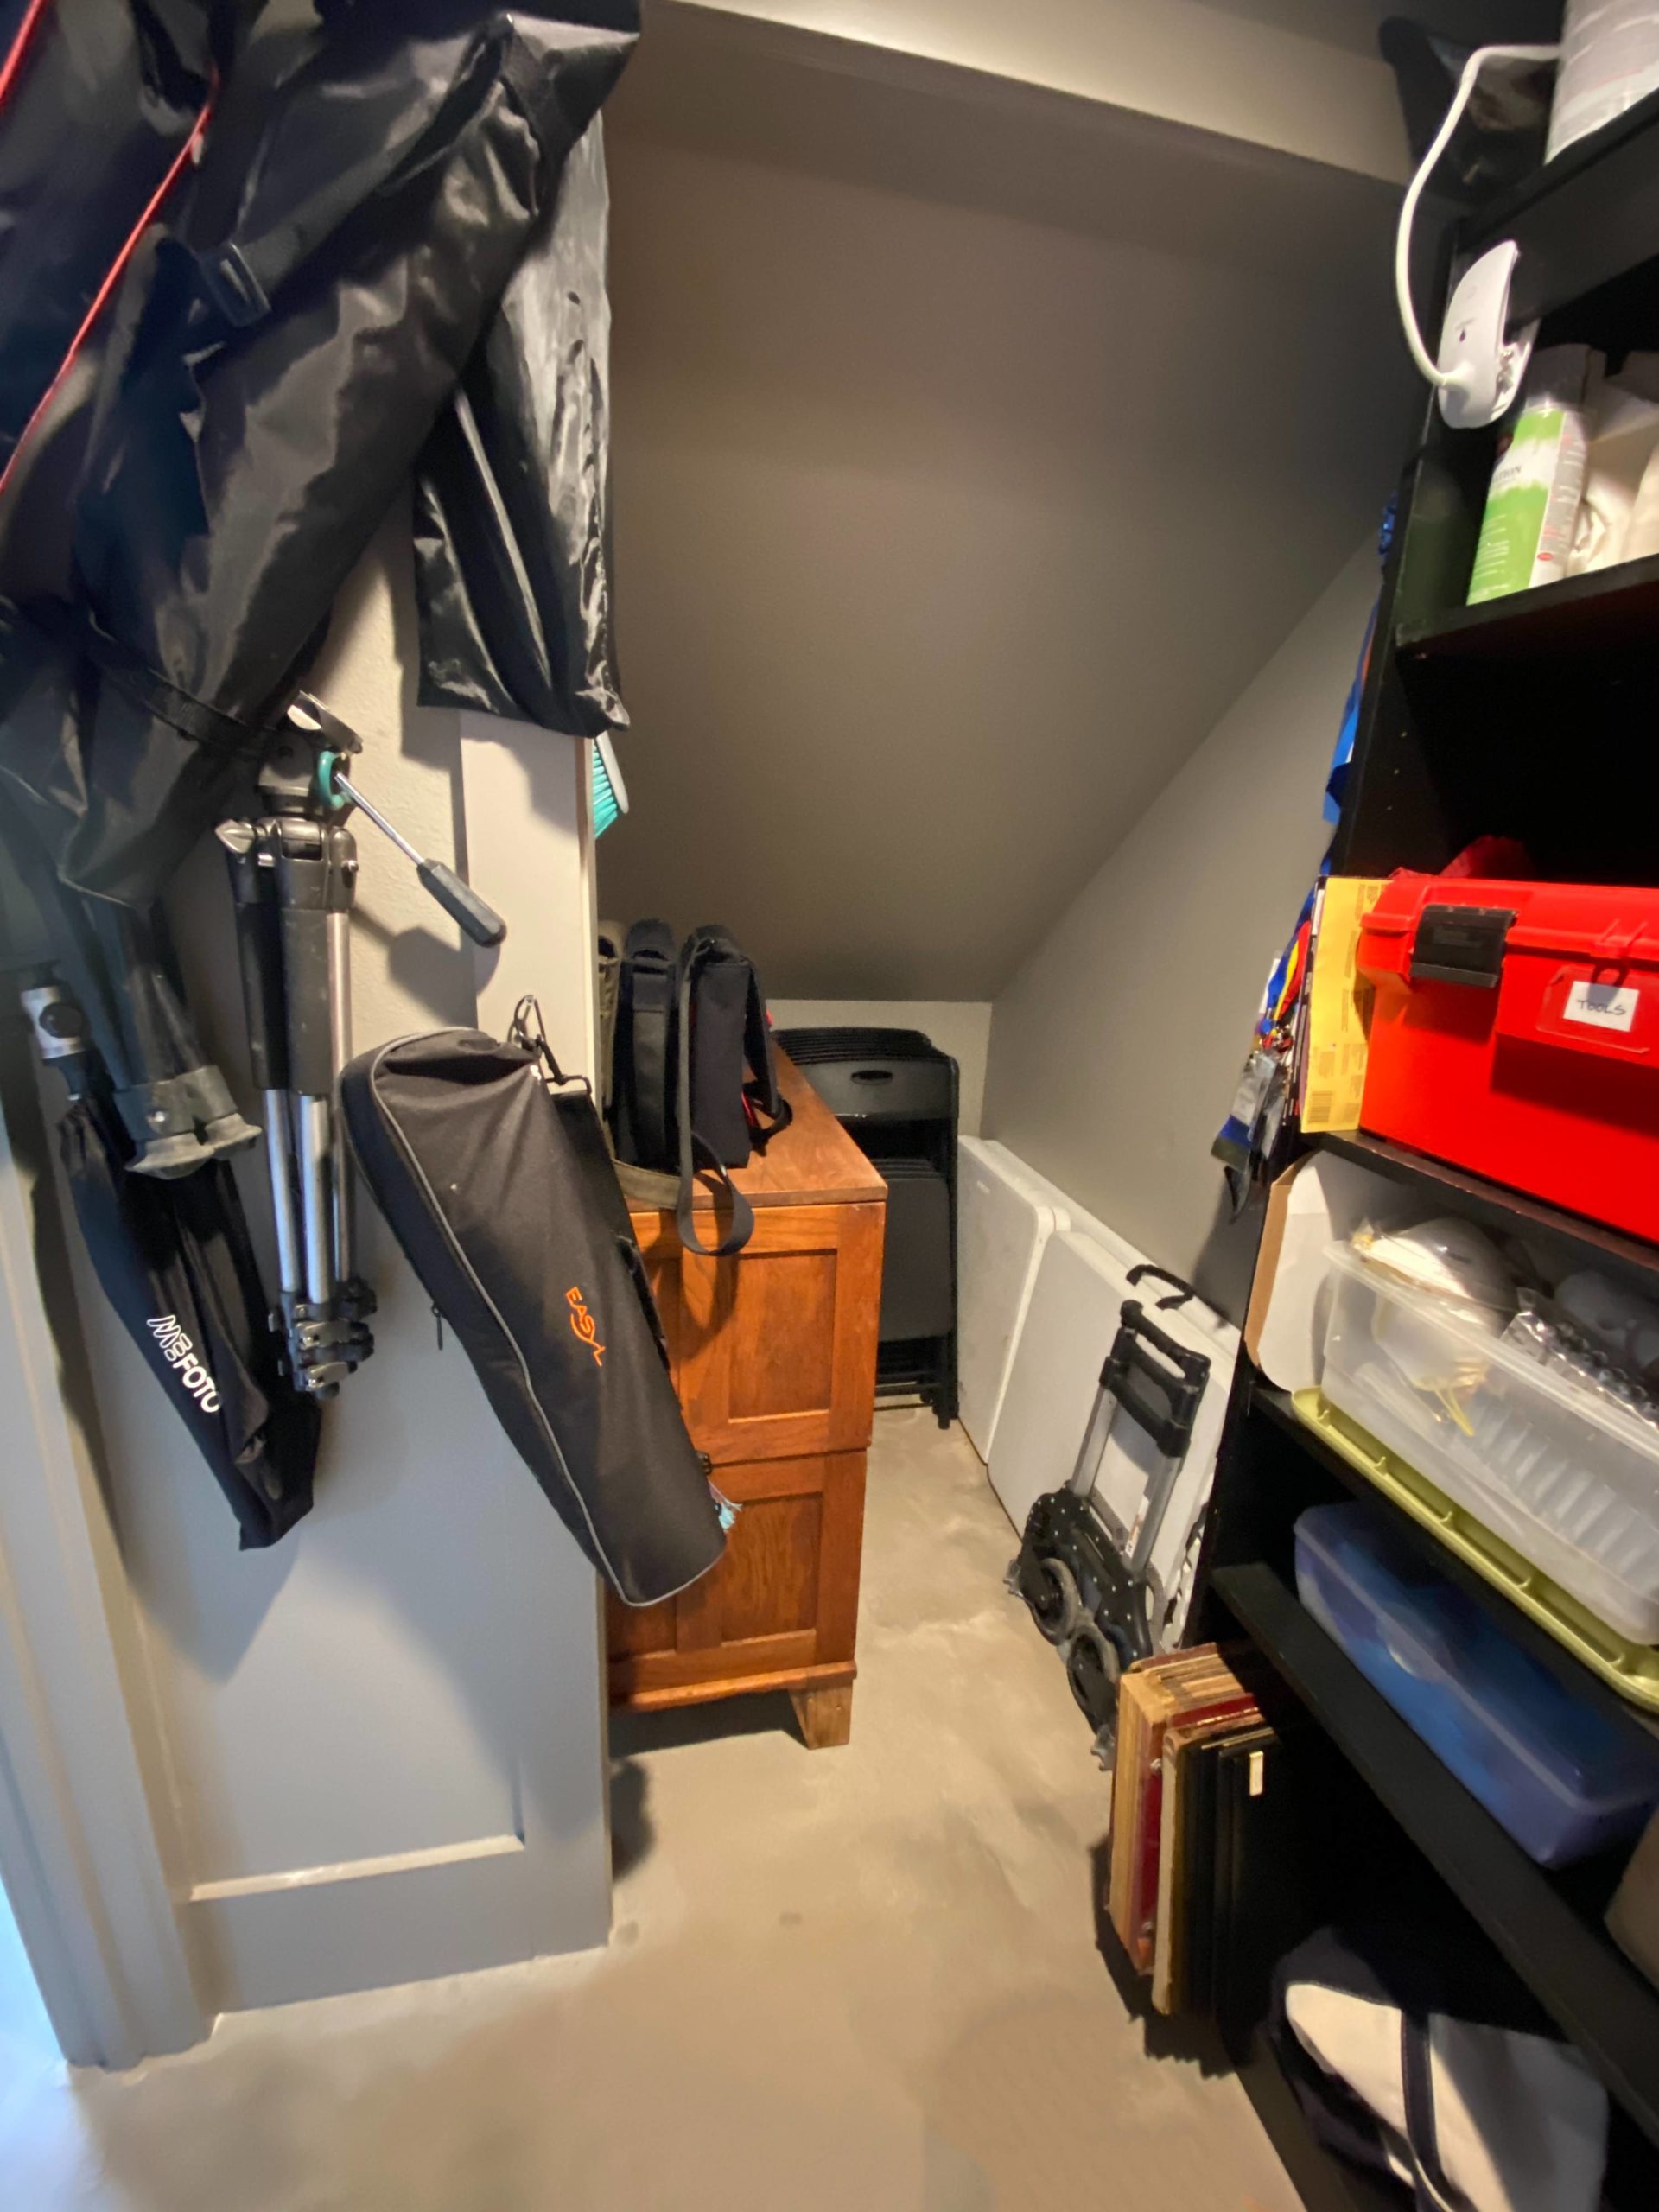
Two sloped-roof but sizable storage areas are to the left and right of this room. Frames are on the left, with packing materials on the right. Keeping these items handy but out of the way is a huge plus.
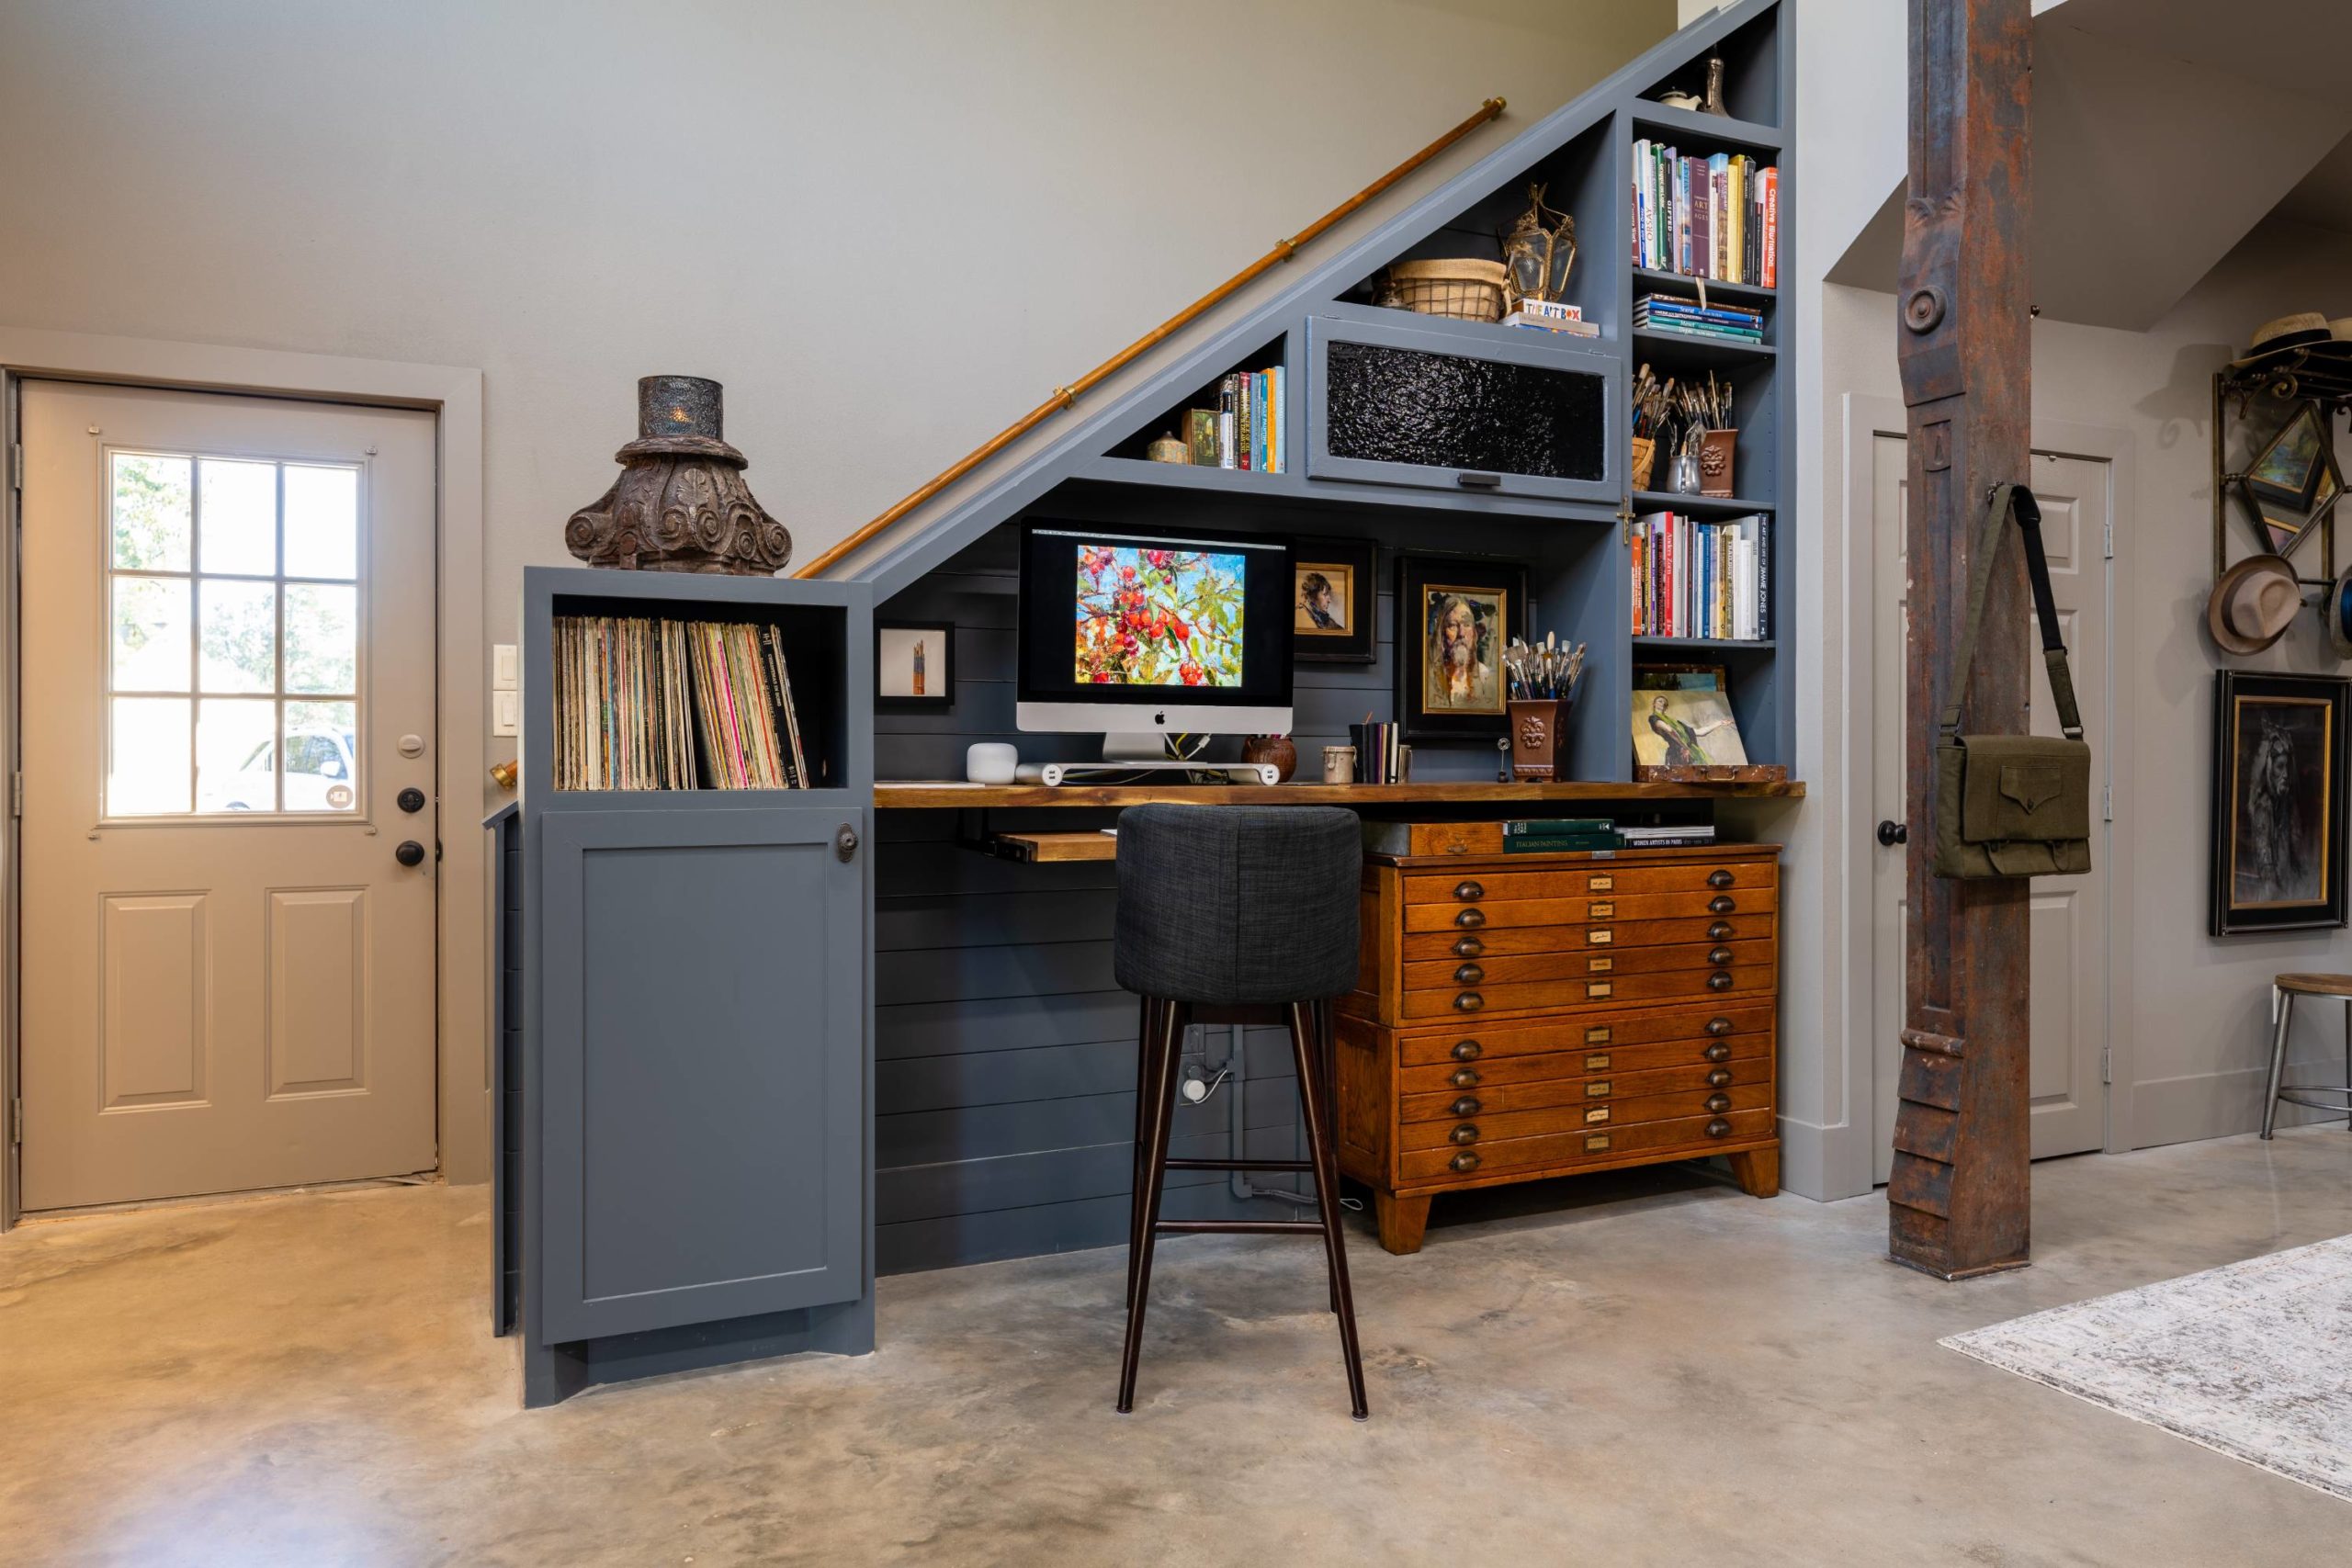
I designed this built-in (below) to keep the open floor plan as open as possible. A space-hogging 36” deep flat file tucks under the slope of the stairs. Old school furnishing and up-to-date tech merge in the desk area with an Ethernet cable planned for just the right spot. The horizontal glass door was salvaged off an old cabinet from my Dad’s shed.
Unter the stairs storage: My storage goal was to keep all stored items one deep, so I could see everything at a glance. This photo shows the back of my flat file, leaving room for folding chairs and extra tables.
This delightfully distressed workbench (shown below) will only get more interesting with a bit more paint, don’t you think?
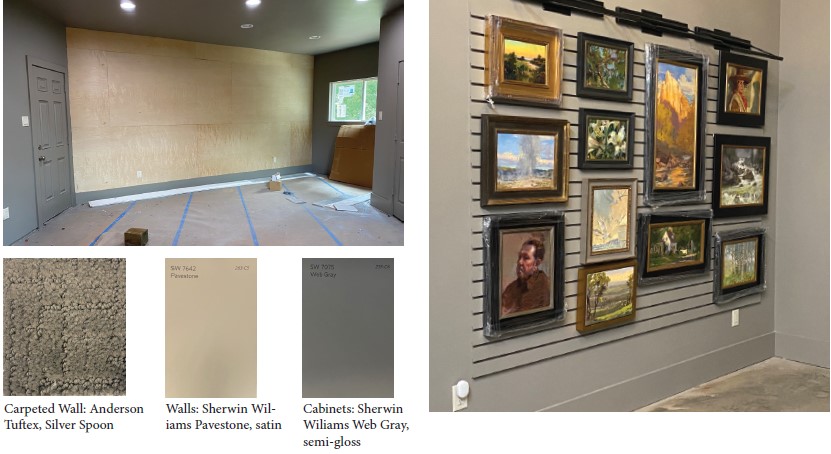
Nearly every surface and material choice is meant to be forgiving as it wears. Since everything will likely get oil paint on it at some point. I chose two interior paint colors for everything, including the baseboards and ceilings, for easy touch-ups.
Artwork Hanging Solutions
I had the builder install a short pile carpet over a plywood wall. This allows me to nail, hang, and repeat throughout the year as paintings move in and out to collectors, galleries, and exhibitions. Another modular solution I found was a slat wall. This hanging system is standard in retail spaces and can be purchased at your area home improvement store. I looked at many hanging systems. These are the two I decided would work best for me.
The stairs and loft floors are painted standing seam subfloor. The brass and wood handrail is ship salvage from Nautical Antique Warehouse in Galveston, Texas.
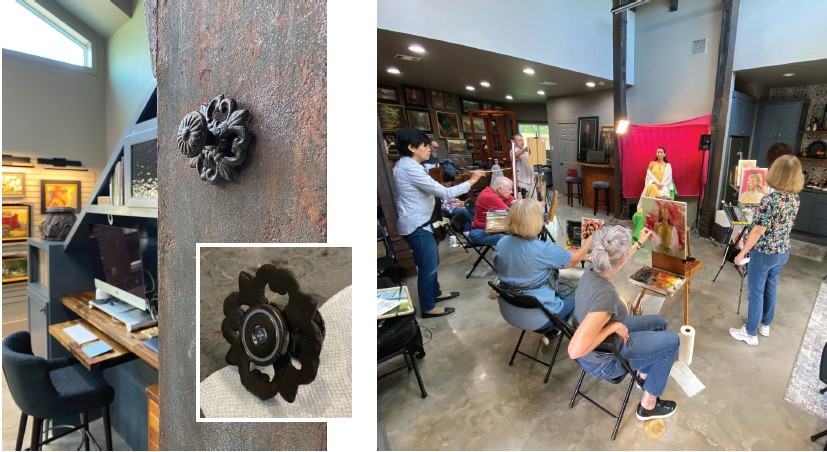
Strong magnets ordered online, combined with decorative knobs from Hobby Lobby, made for super helpful magnetic hooks. These magnets are so strong that I could use them to hang the drapery behind the model for our local portrait group.
Connect with Suzie Baker
Website | Newsletter | Instagram | Color Magic for Stronger Paintings workshop
Related Article: Priorities: Her Home is in Her Art Studio (A studio tour with Lori Putnam)


